Configuration
To configure VoIP Innovations we must follow a few simple steps, but first we must check that we have everything we need to create our provider and its campaign.
Required
Have an account with VoIP Innovations and access to it
Have a contact number enabled
Login to uContact with permissions to create SMS Providers and SMS Campaigns
1. Set up account
Set up the webhook for VoIP Innovations to receive the messages in uContact.
All you need is the following route:
https://<instance>.ucontactcloud.com/Integra/resources/InboundSMS/VoipInnovations
That route it's a POST type
2. Get access parameters
Inside your account will see two parameters
api_key
api_secret
That’s the information you need to create the provider in uContact
3. Create provider in uContact
Now we enter uContact with a user who has permissions to create SMS Providers and SMS Campaigns
Once inside, we go to Administrator -> Providers -> SMS
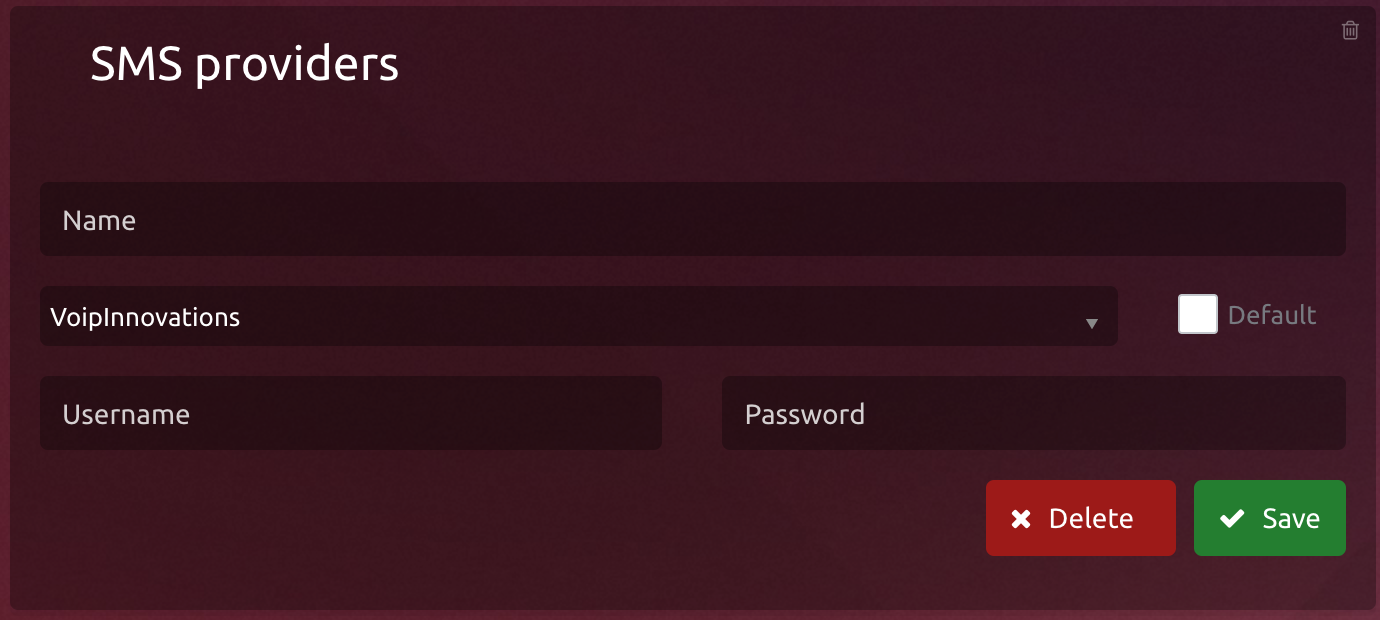
Here we see a drop-down menu called SMS Providers, by clicking on it the list of compatible providers is displayed, we select VoIP Innovations
Once selected we complete the fields
Name (to identify the Provider)
Username (api_key previously obtained in step 2)
Password (api_secret previously obtained in step 2)
Source (the phone number it will be used)
By clicking on “Save” button our provider is ready to work!
4. Create SMS campaign
Once the provider is already created in uContact and entered the webhook in the VoIP Innovations account, we can create our sms campaign.
We go to Administrator -> Campaigns -> SMS
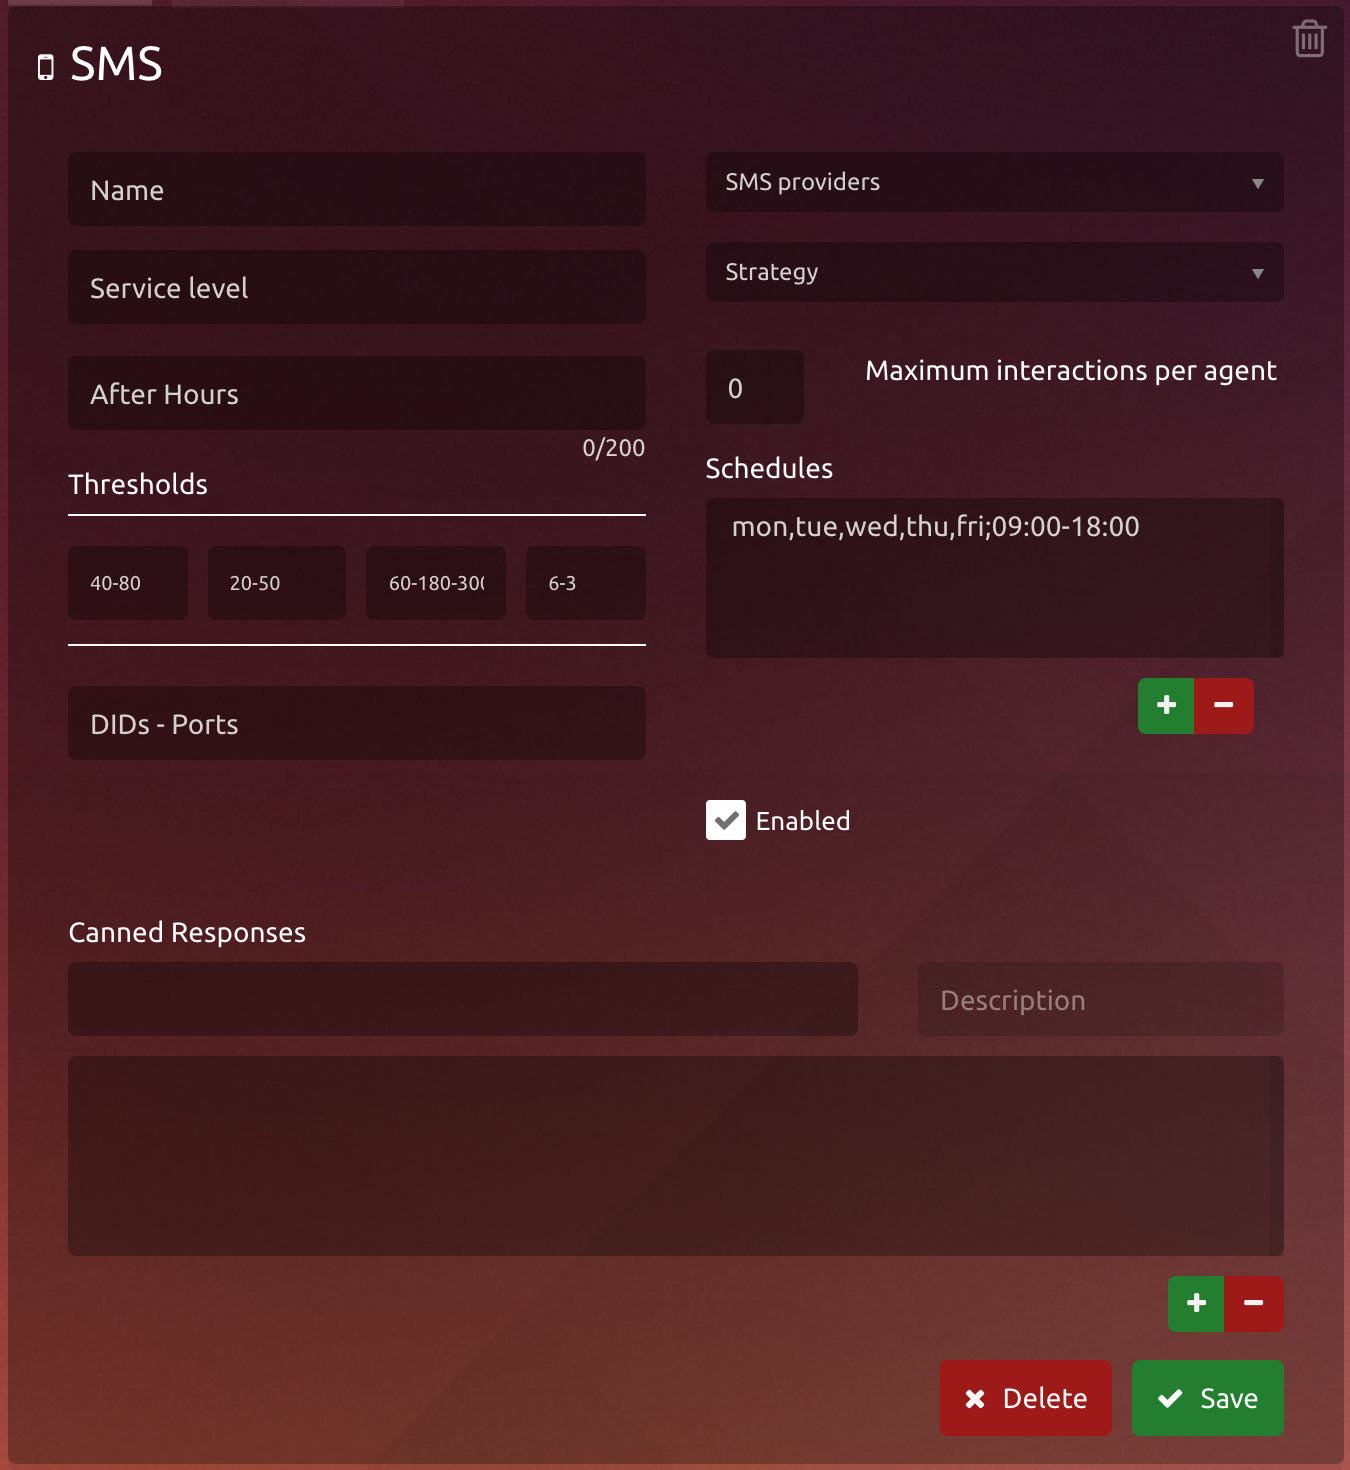
The configurations required to create the campaign are the following:
Name (to identify the campaign)
Service Level (number, Learn more about…)
SMS Providers (here select the provider created in the step 3)
Strategy (Learn more about…)
Schedules (Learn how to schedule…)
DIDs - Ports (Phone number which receives the messages)
By clicking on “Save” button just need to add agents to the campaign and that’s all!
See, how to add agents


