Introduction
There are two types of users inside uContact, those are:
Agent
uContact Agent is a module for the contact center agent as the total solution for integration with features relating to data capture, monitoring by states, and integrated communications with the uContact platform.Supervisor
uContact Supervisor is responsible for all system management, it manages and monitors campaigns and dialers; permits, users, and suppliers can be created and workflows can be set up along with forms and reports.
Since the uContact access interface is 100% web-based, the user must use some of the following features for entering the portal:
Operative systems![]() Windows
Windows ![]() MacOS
MacOS ![]() Ubuntu
Ubuntu
Browsers![]() Chrome
Chrome ![]() Firefox
Firefox ![]() Edge
Edge
uContact Login
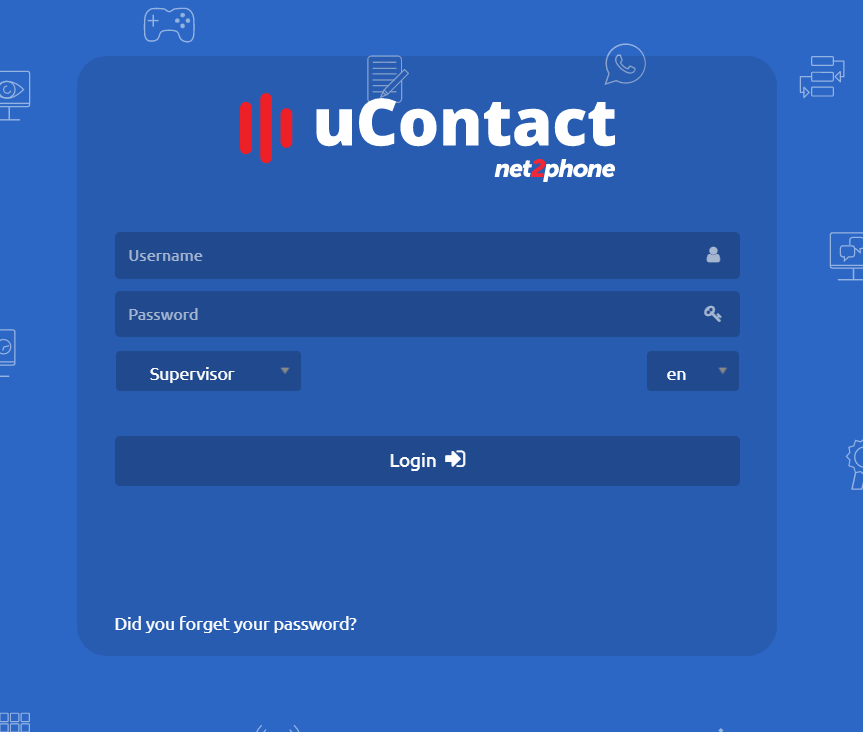
To navigate uContact, you will have to enter the Login screen of the Portal.
Here you will find the following:
uContact logo.
User and Password fields.
User profile combo box.
Language combo box.
Login button.
Password recovery link.
Software version.
To enter, simply fill in the fields with your username and password, select your profile, language, and click Login.
By default, the language is the same as your browser.
You can also enter by pressing the “Enter” key.
Notifications
| Info |
|---|
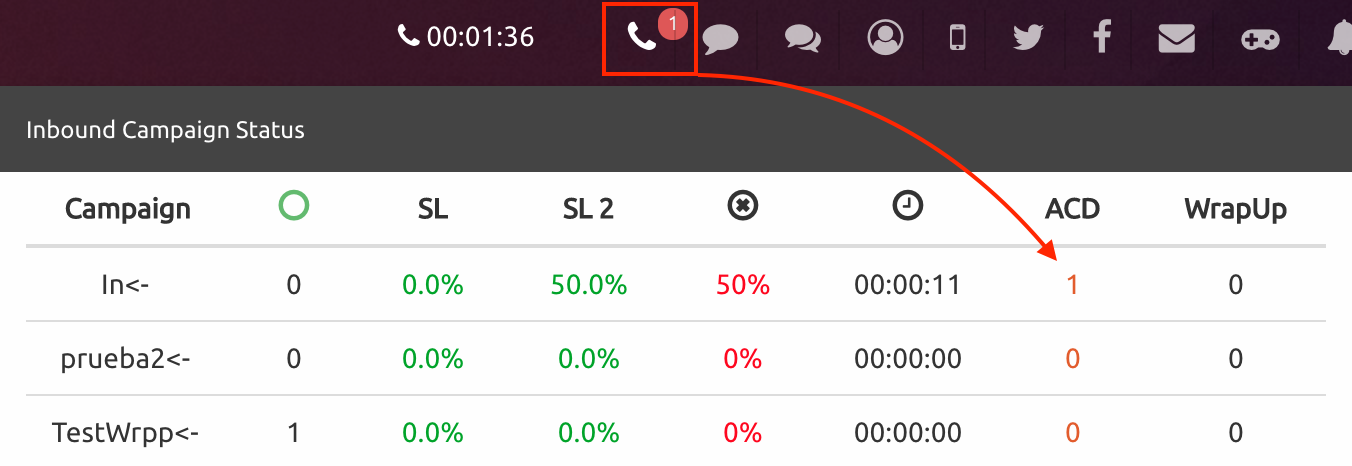
You can see two icons above the upper right margin of the main screen, these are the status of incoming campaigns and breaks. Then, if the user is notified about an event in different campaigns, the event icon will appear. |
| Expand | ||
|---|---|---|
| ||
These are:
|
| Expand | ||
|---|---|---|
| ||
If the user unfolds the Inbound Campaign Status it shows:
When the user has an incoming call from a certain campaign, the ACD value will turn 1 on the corresponding campaign. The user will be notified for this, like it is shown in the next picture: |
User Profile
Located in the upper right corner, the user can see:
His username
Current state
Online time
A green circle indicates that the user is Online.
A gray circle indicates that the user is Paused.
If the user is on a break, for example, “Lunch”, that icon will be shown
| Expand | ||
|---|---|---|
| ||
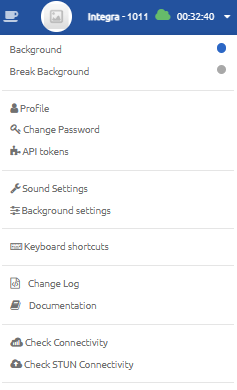
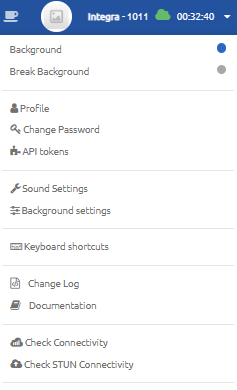
Clicking on the profile of the user deploys a menu that lets him change some personal features as:
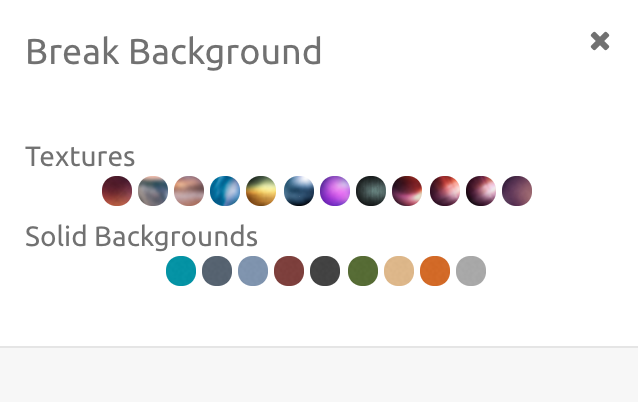
BackgroundsBy clicking on Background or Break Background, a new box displays to select solid colors or textures, it is the same for both options.
|
| Expand | ||
|---|---|---|
| ||
Clicking on the profile button, a modal will open with detailed information about the user. InteractionsThe agent can see his own progress, incoming and outgoing calls, as well as SMS, mail, and social media interactions such as Twitter or Facebook and the Webchat of the day. TimesThe agent can also see his logged time, total break time, the time he was speaking, and the time he was free. The free time is the time that the agent was logged without being on a break or making a call. It is to say, (Logged - (Spoken + Break)) = Free. Tables and chartsBesides, he has the possibility to see a timeline detailing his activities, a table that indicates the times of each break he made, and a chart of the day by the hour. The chart is divided by time and shows the number of calls, SMS of the agent (whether incoming or outgoing), and the number of incoming webchats. If the mouse is placed above the chart, a picture appears containing the number of calls or SMS and the time they were made.
|
| Expand | ||
|---|---|---|
| ||
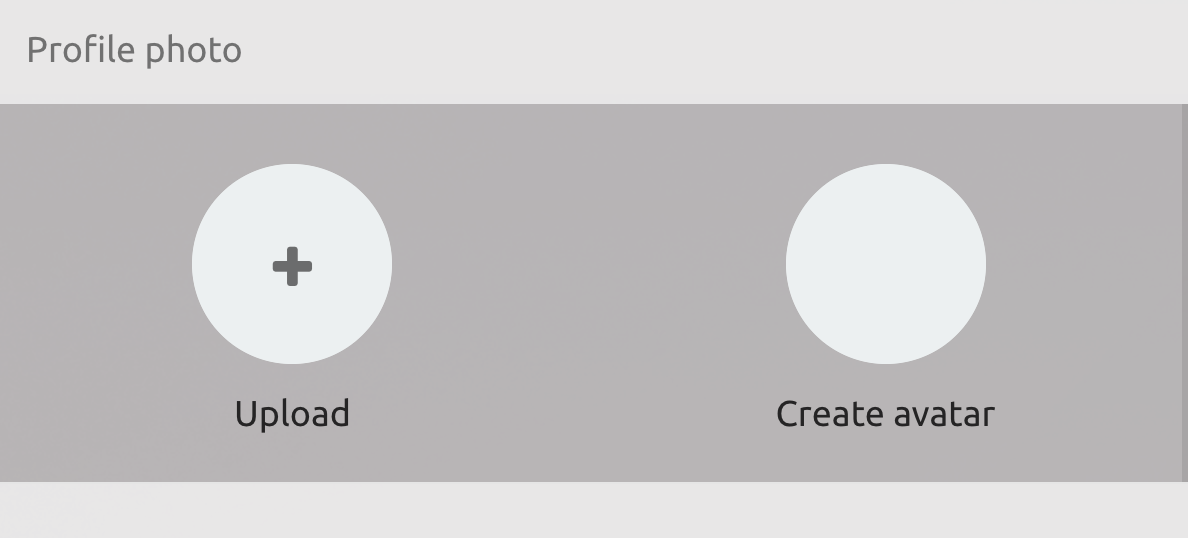
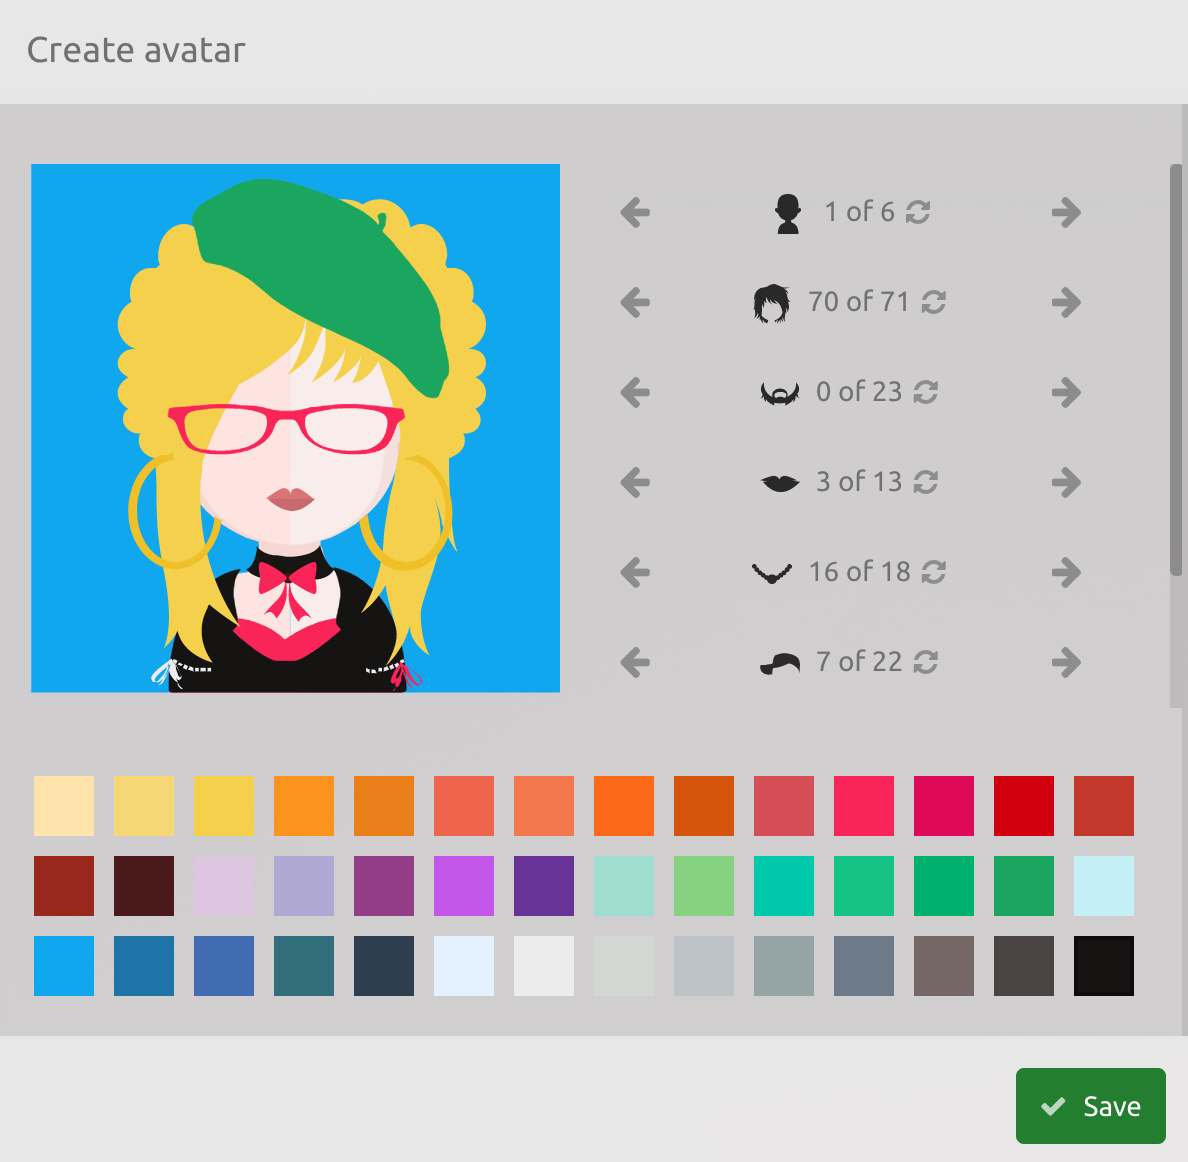
It is possible to change the admin profile photo by clicking on the profile picture (it can be done by clicking it from the profile tab as well as the image located at the top of the screen). When pressing the profile photo, the next image will open where you can create your avatar as well as upload a personal image. To create a new avatar, press on 'Create avatar' and the editor window will be displayed. |
| Expand | ||
|---|---|---|
| ||
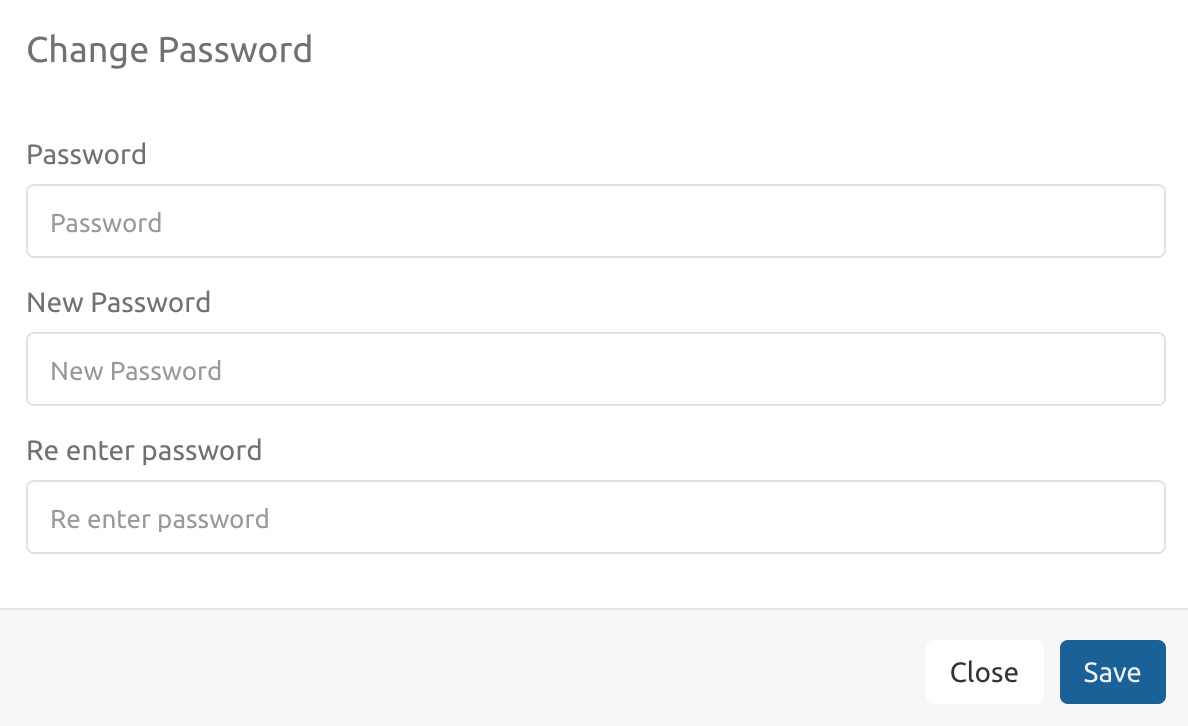
The agent has the option to change his password. A window will appear in which they have to put:
|
| Expand | ||
|---|---|---|
| ||
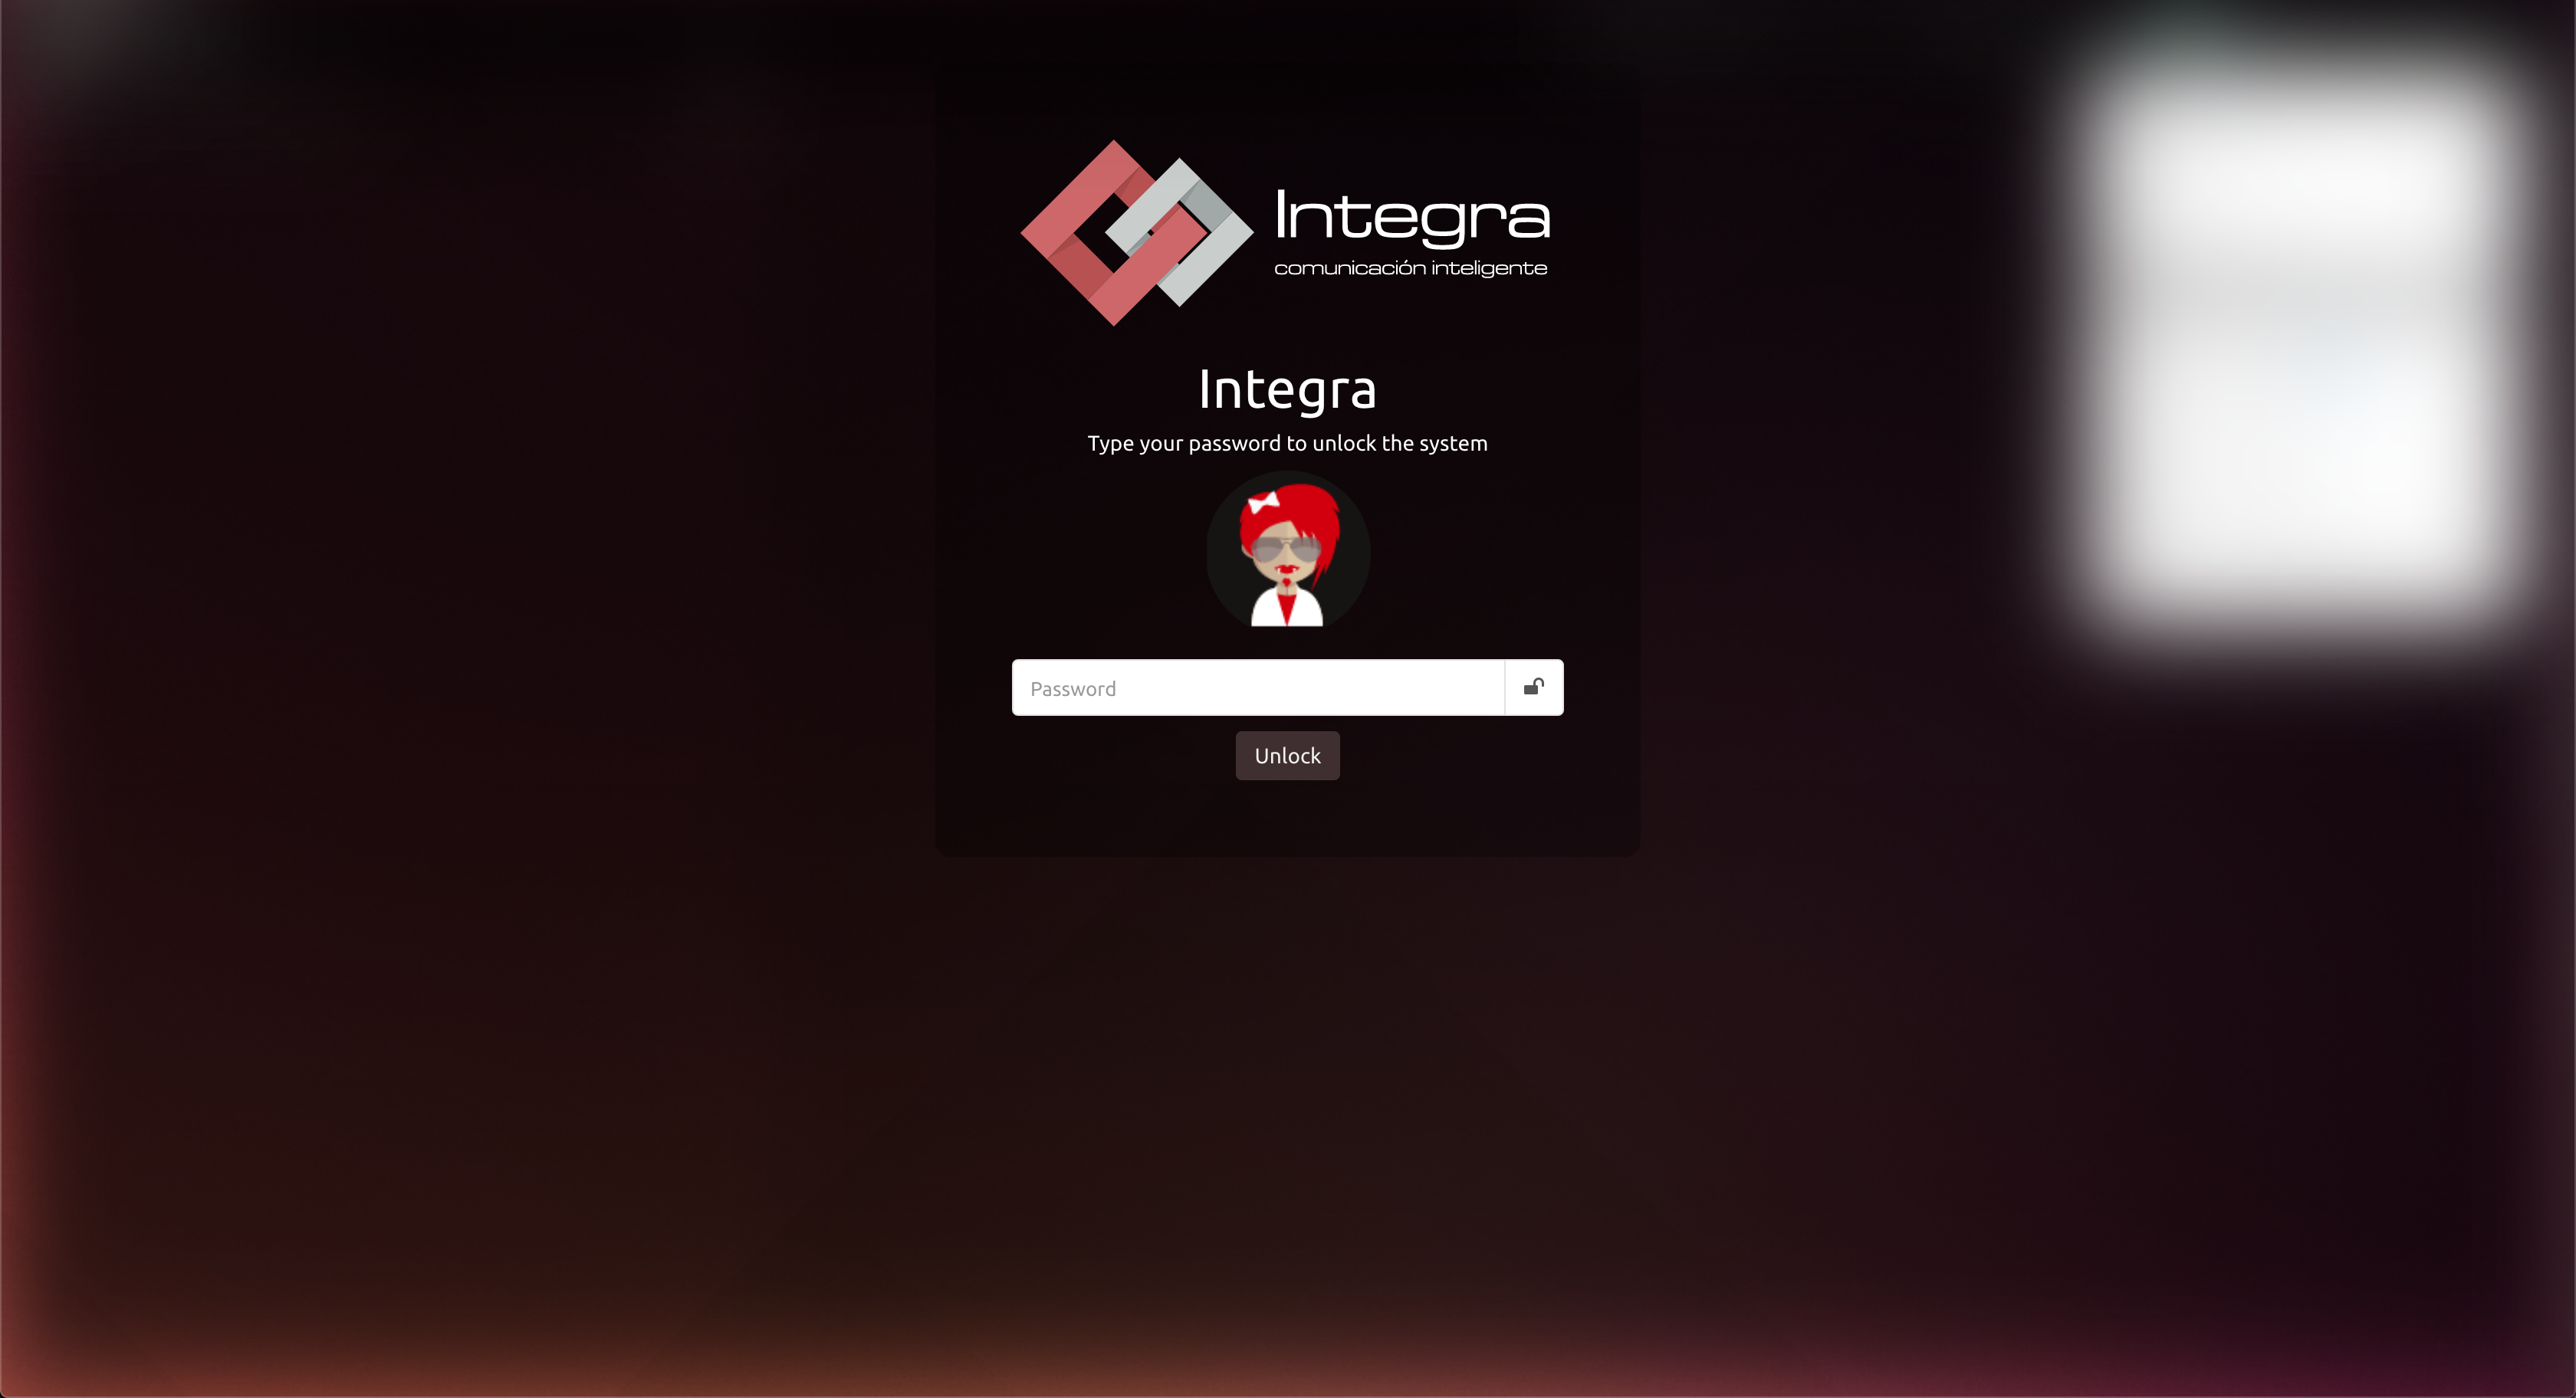
When locked, the agent will not have access to any functionality. To unlock the screen, you need the agent's password.
|
| Expand | ||
|---|---|---|
| ||
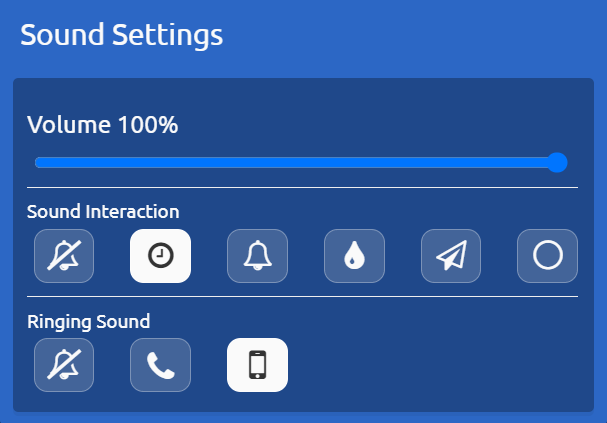
In the user menu the agent can configure the tone of the incoming notifications. Selecting the option "Sound Settings" will display the following options menu: You can select the tone you prefer, including muting notifications by clicking on the corresponding icon. Once selected some of the options will be automatically saved and the menu can be closed. |
| Expand | ||
|---|---|---|
| ||
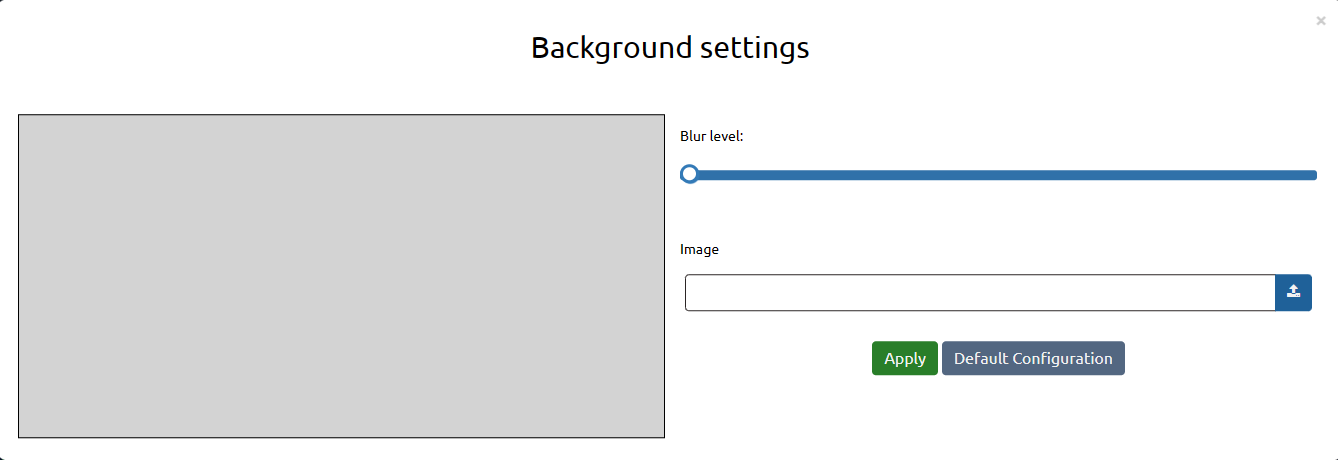
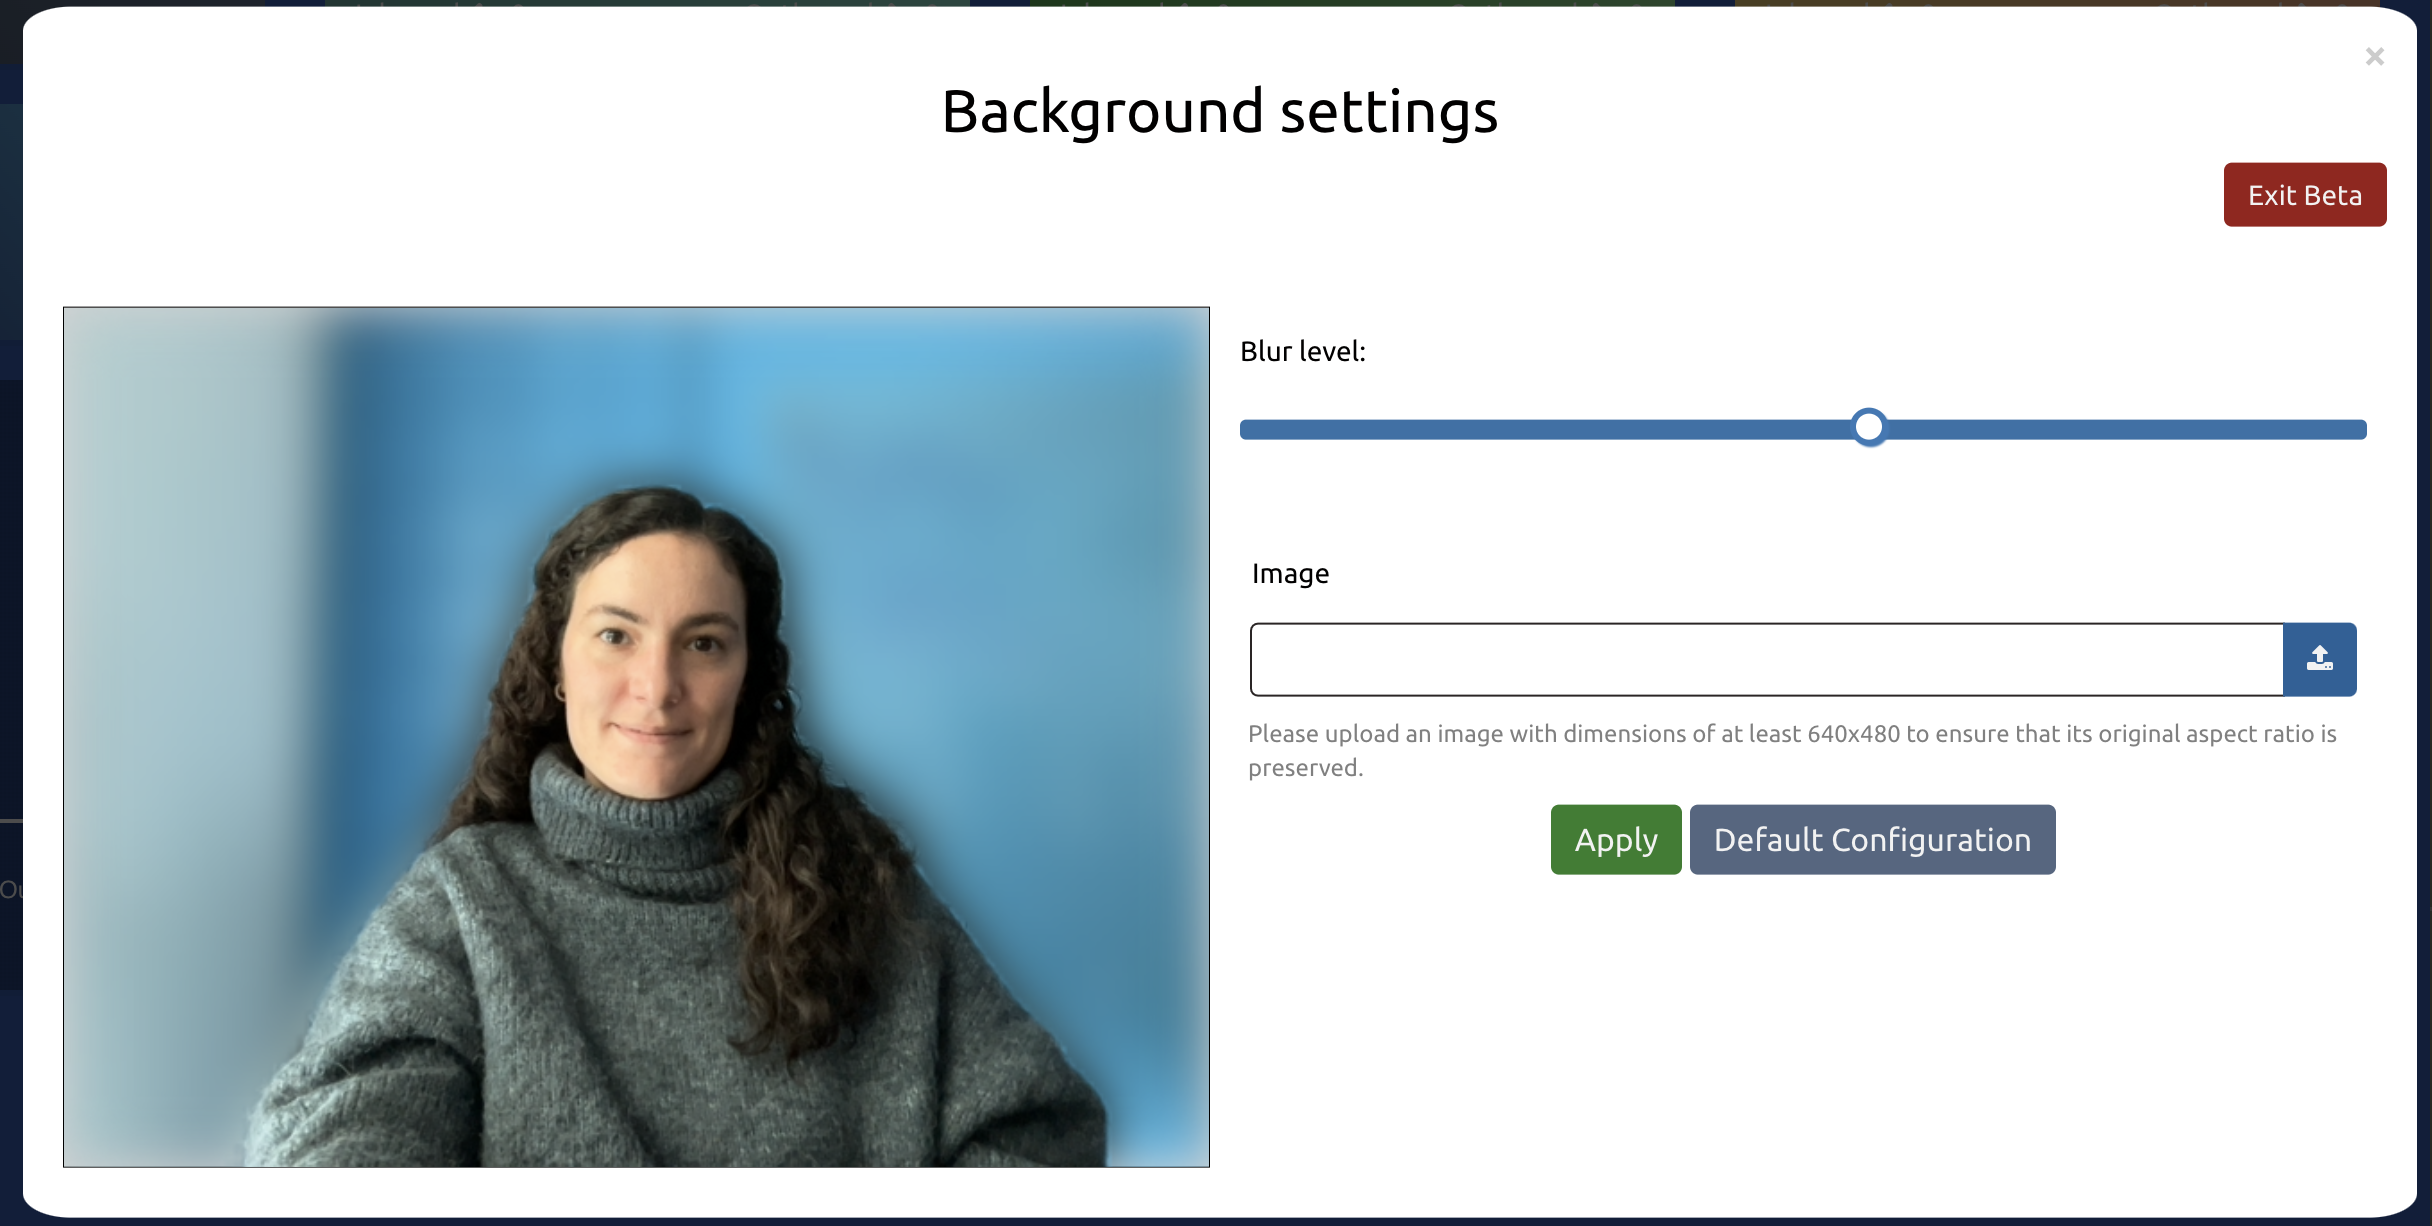
The background configuration feature allows users to customize the background of their video calls by adding a custom background. These configurations can be adjusted while the user is in a call or when they are idle. Once configured, the background settings will be saved for future calls. Blur: The blur level setting enables users to adjust the amount of blur applied to the background of their video. By modifying the blur level, users can control the degree of blurriness in the background, creating a desired visual effect. Image background: Additionally, users have the option to select an image to use as their background. This feature enables users to choose a specific image file from their device, which will be displayed as the background during video calls.
|
| Expand | ||
|---|---|---|
| ||
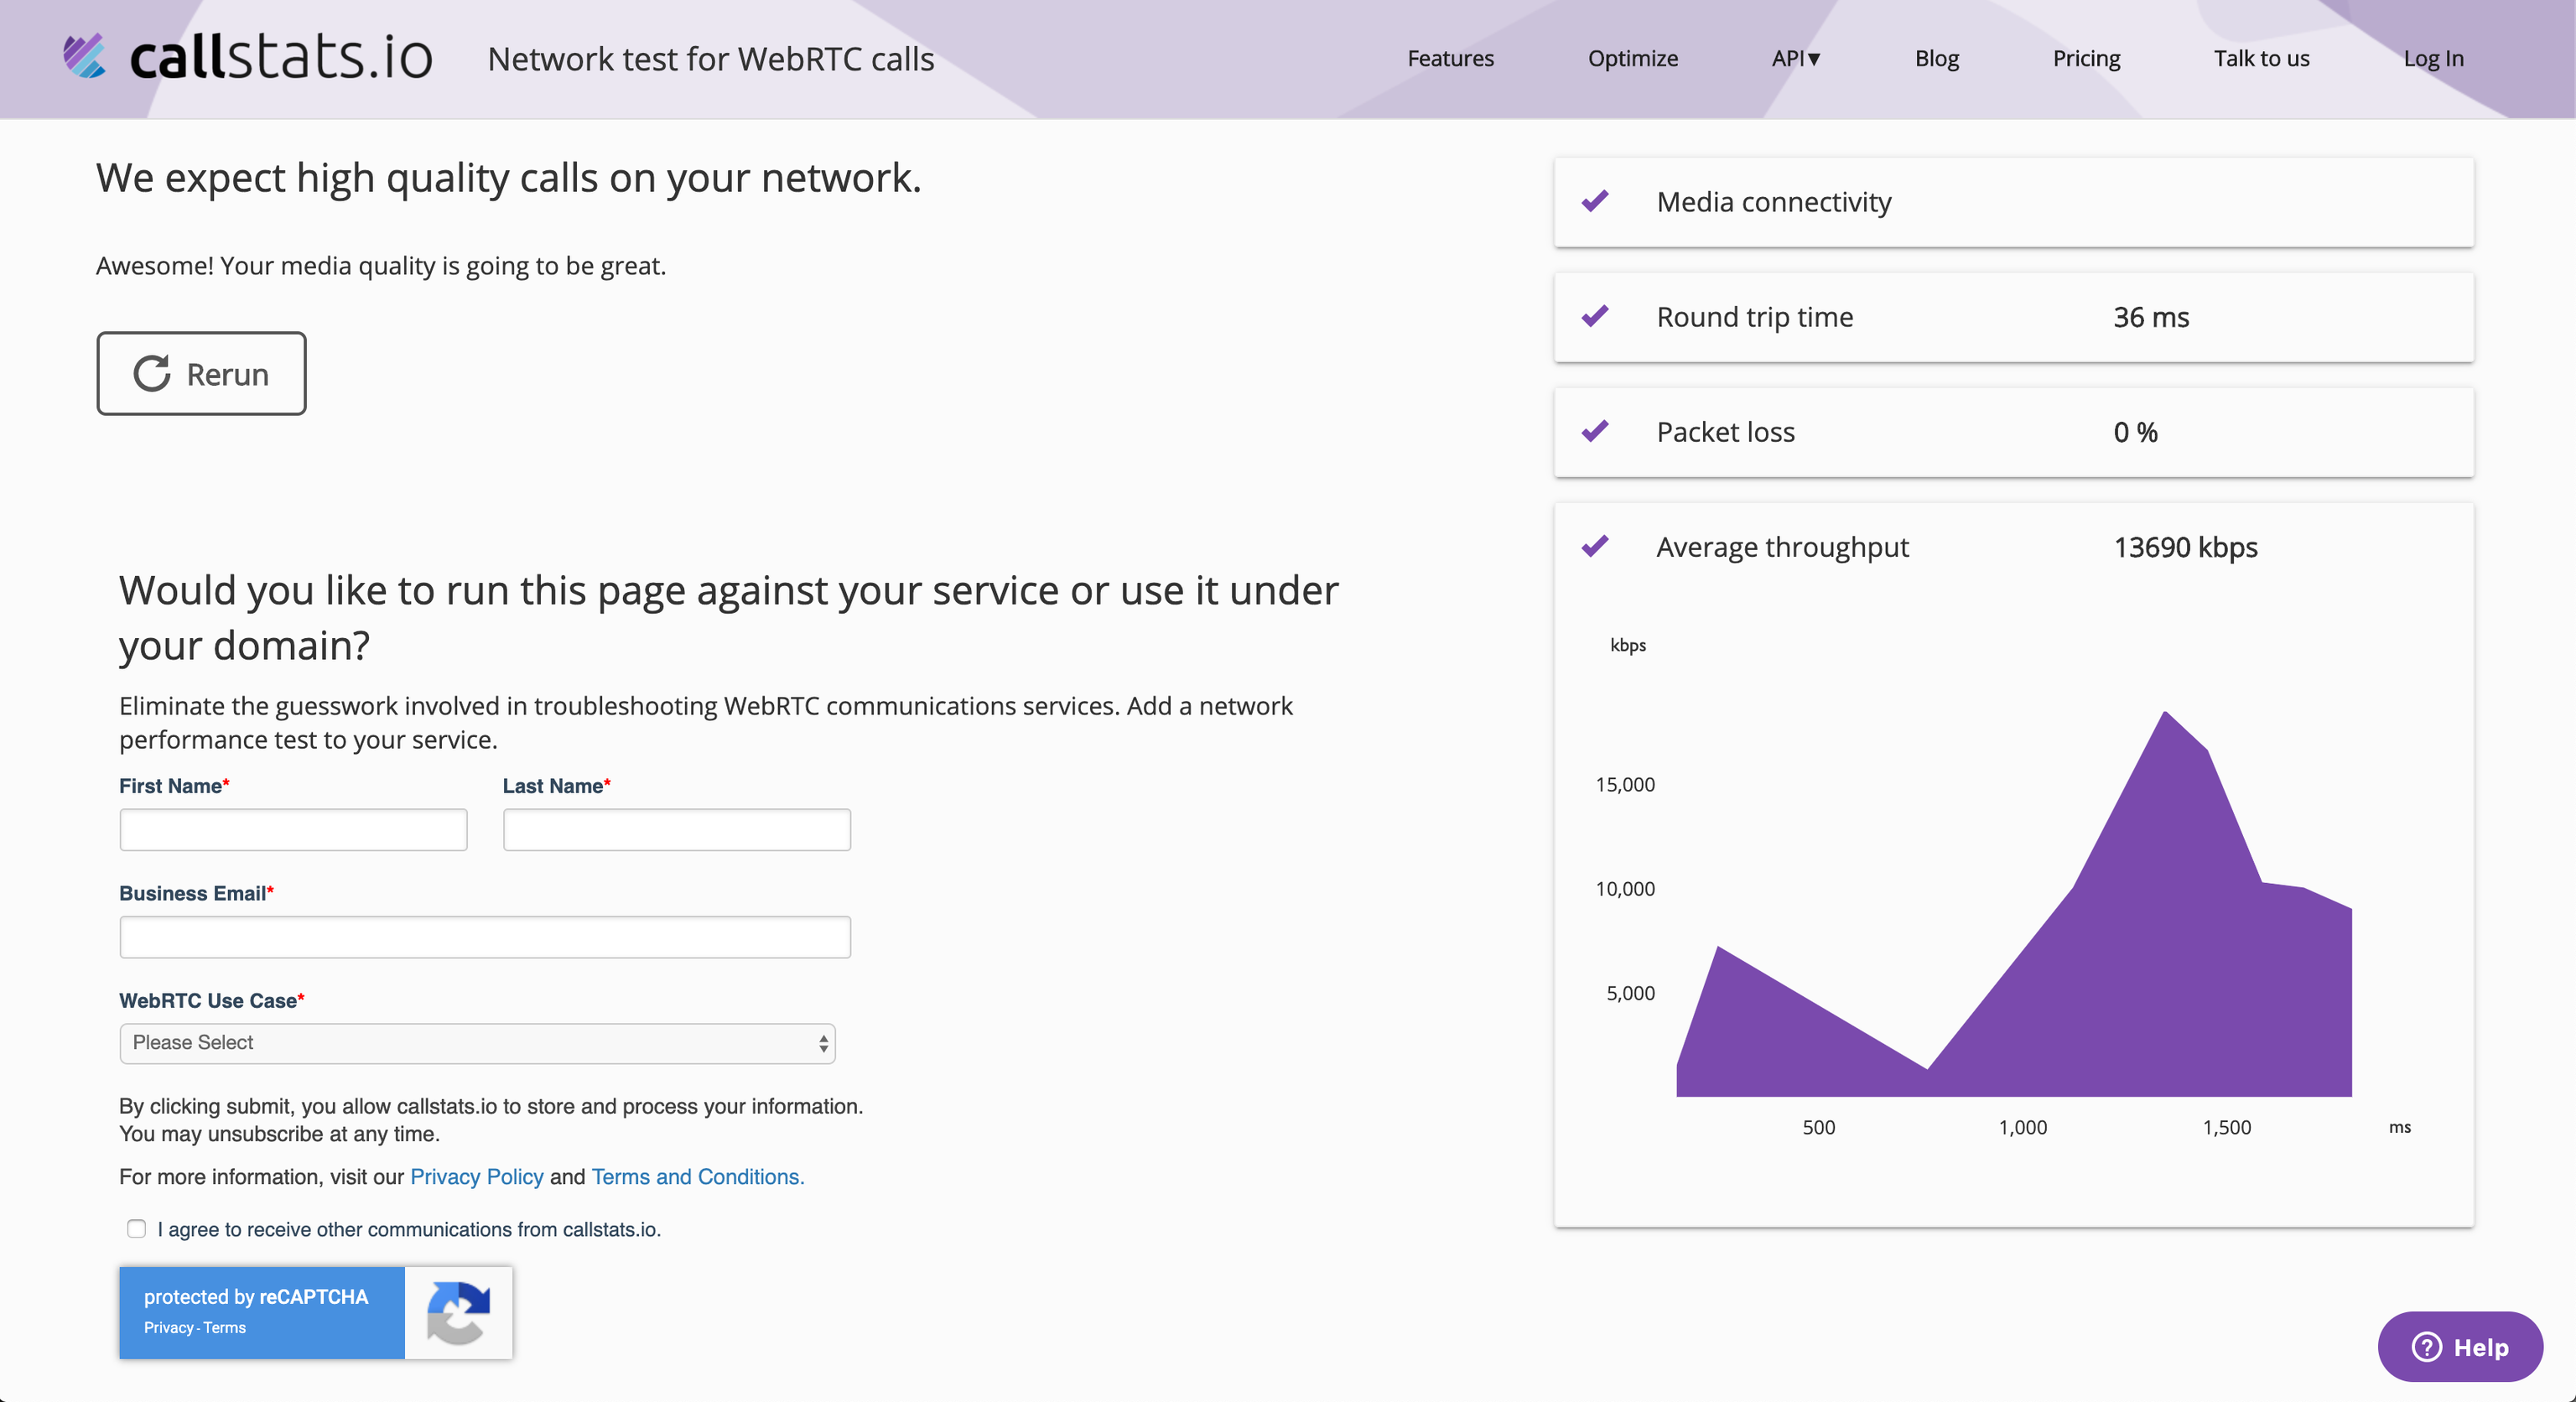
By selecting this option the user will be redirected to a second site, in a new tab, here you can check its connectivity, microphone operation, webcam, network to which it is connected, Network connection and performance to confirm you are fit to work. When you click start on the new open tab, the test will run and the categories that do not pass the test will be shown in red. |
| Expand | ||
|---|---|---|
| ||
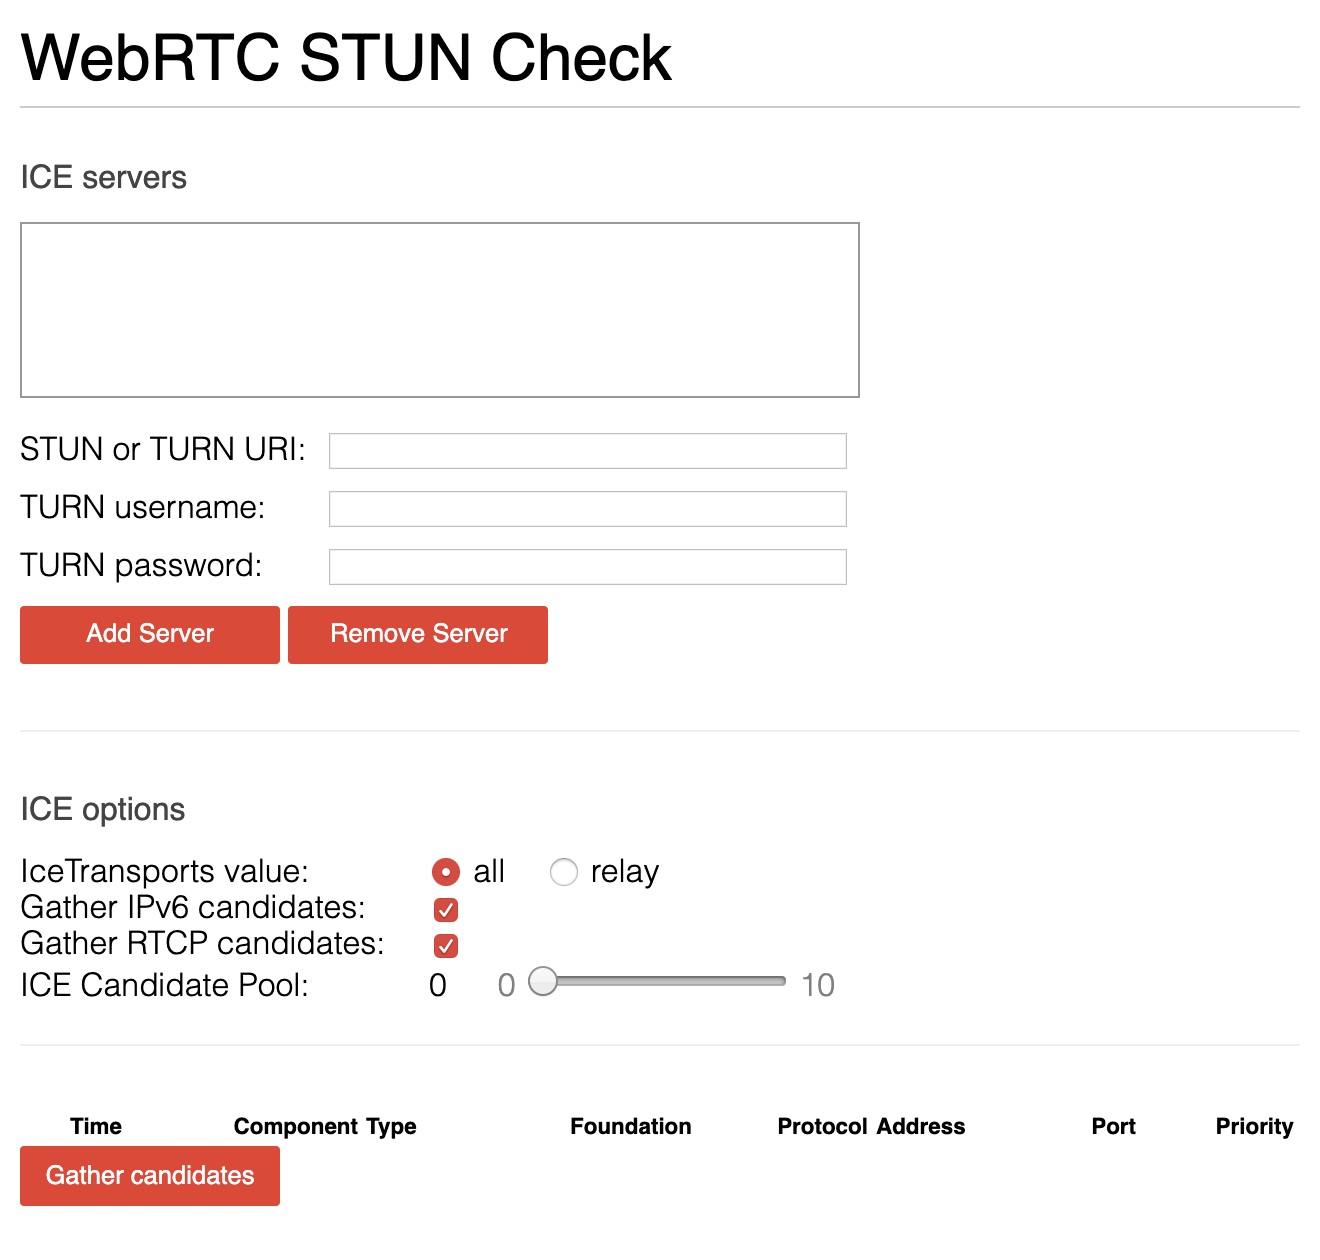
This option redirects the user to a new tab where it will be possible to verify the correct functioning of the STUN WebRTC, used by the softphone, through which incoming and outgoing calls are processed. This allows you to confirm whether the STUN server is properly configured for call operation. |
