...
Package installation
Installation URL:
https://login.salesforce.com/packaging/installPackage.apexp?p0=04t8c000001Njam
Log in
The provided URL will ask you to log in the desired sandbox/production environment.
...
Select profiles
Select the profiles that will be able to use the package.
In order to install the package, “I acknowledge that I’m installing a Non-Salesforce Application that is not authorized for distribution as part of Salesforce’s AppExchange Partner Program.” must be checked due to this being a beta installation.
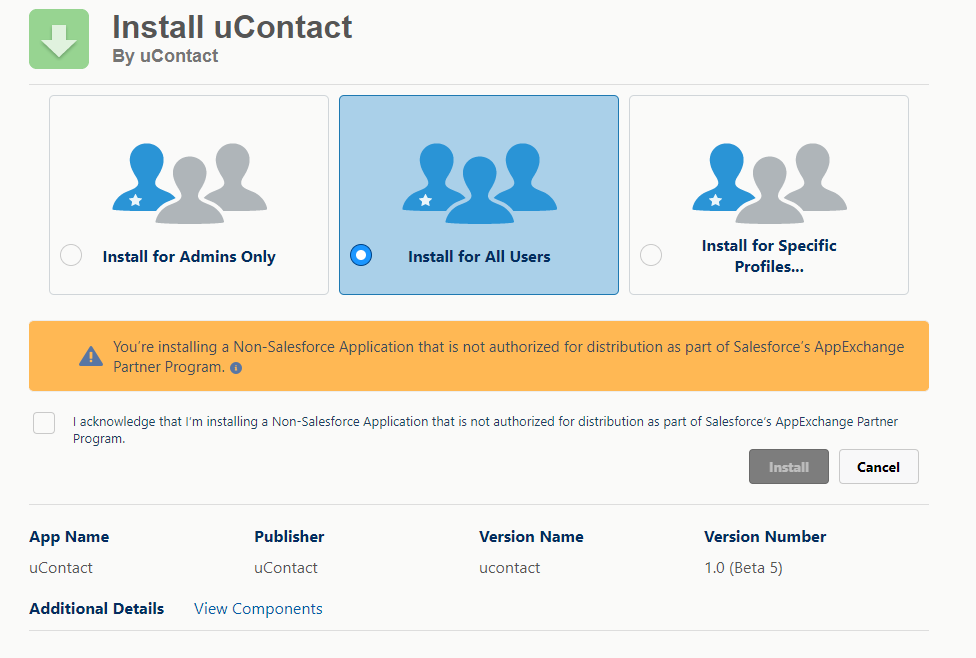
After clicking the “Install” button you should see a screen similar to the image below
...
Verify installation
After installation, we can verify if it was successfully installed:
In the quick find box type ‘Installed’ and select ‘Installed Packages’ item
...
If the package is installed, you will see something similar to the image below
...
Post-installation steps
Add the phone to the utility bar of the desired App
In the quick find box input, type “App manager” and select “App manager” menu item
...
Click the arrow menu on the desired app to add the phone and click “edit”, app type must be Lightning.
In the App setting menu, select “Utility items”
...
Click “Add utility item” and then select “ucontactPhone”
...
Populate the utility item information, recommended width 400 and height 830
...
You will be able to see the phone in the selected app.
Add uContact instance on settings
Click on the App Launcher at the upper left corner and type “uContact Settings” and select the item from the menu
...
In the uContact Settings tab, there are 2 main functionalities divided into 2 tabs, the first one called settings will be used to configure the instance, there is a field in which the URL of the service will be stored. Every time the page it’s loaded, if there is already a setting created, the field will show the current URL, otherwise, it will be empty. From it, you can also edit to change the URL, and save it by clicking the button ‘Save’
...
Then, there is the second functionality called ‘Field Mapping’ where there are two picklists, one for Contact and one for Lead. On each of them, a list of their respective fields will be displayed, available for selection. Those fields will be used to match clients with records in Salesforce. For example: If ‘Phone’ is selected, under ‘Contact’, when a client calls, the number will be matched to the record that has the same number in the ‘Phone’ field in the Contacts.
...
When a field is selected, it will be displayed on the right column under ‘Selected’. Below each picklist, there is its respective save button, which will be used to store all the fields to match.
...
If you already have selected fields, they will be shown in their respective columns (available, selected) in the picklist when the page loads.
Add the “Call” button to Contact/Lead
In order to be able to start a call from a Contact or Lead page, the quick action “Call” must be added
From Setup click Object manager
Select Contact object
Select “Page Layouts” and select the desired layout
Select the “Mobile & Lightning Actions” item, and select the action with Name Contact.ucontact__Call (to display this information hover over the action name).
...
*To add the action, drag and drop on Salesforce Mobile and Lightning Experience Actions section.
...
Save
...
La documentación este momento solo está disponible en ingles