uContact bots
Bots allow the execution of flows through a JavaScript engine that allows you to perform almost any action, if you have the necessary programming knowledge.
They can be obtained from simple answers to making transfers, as well as queries to the database or executions of web services. These functionalities are just some of the programmable activities for bots.
To start with bots, you must enter uContact with a Supervisor type user with permissions to use the Workflow designer.
| Note |
|---|
To start creating bots, you must have bot licenses available. They can be requested by sending an email to Integra Support. |

Bot development
This is where its behavior is defined.
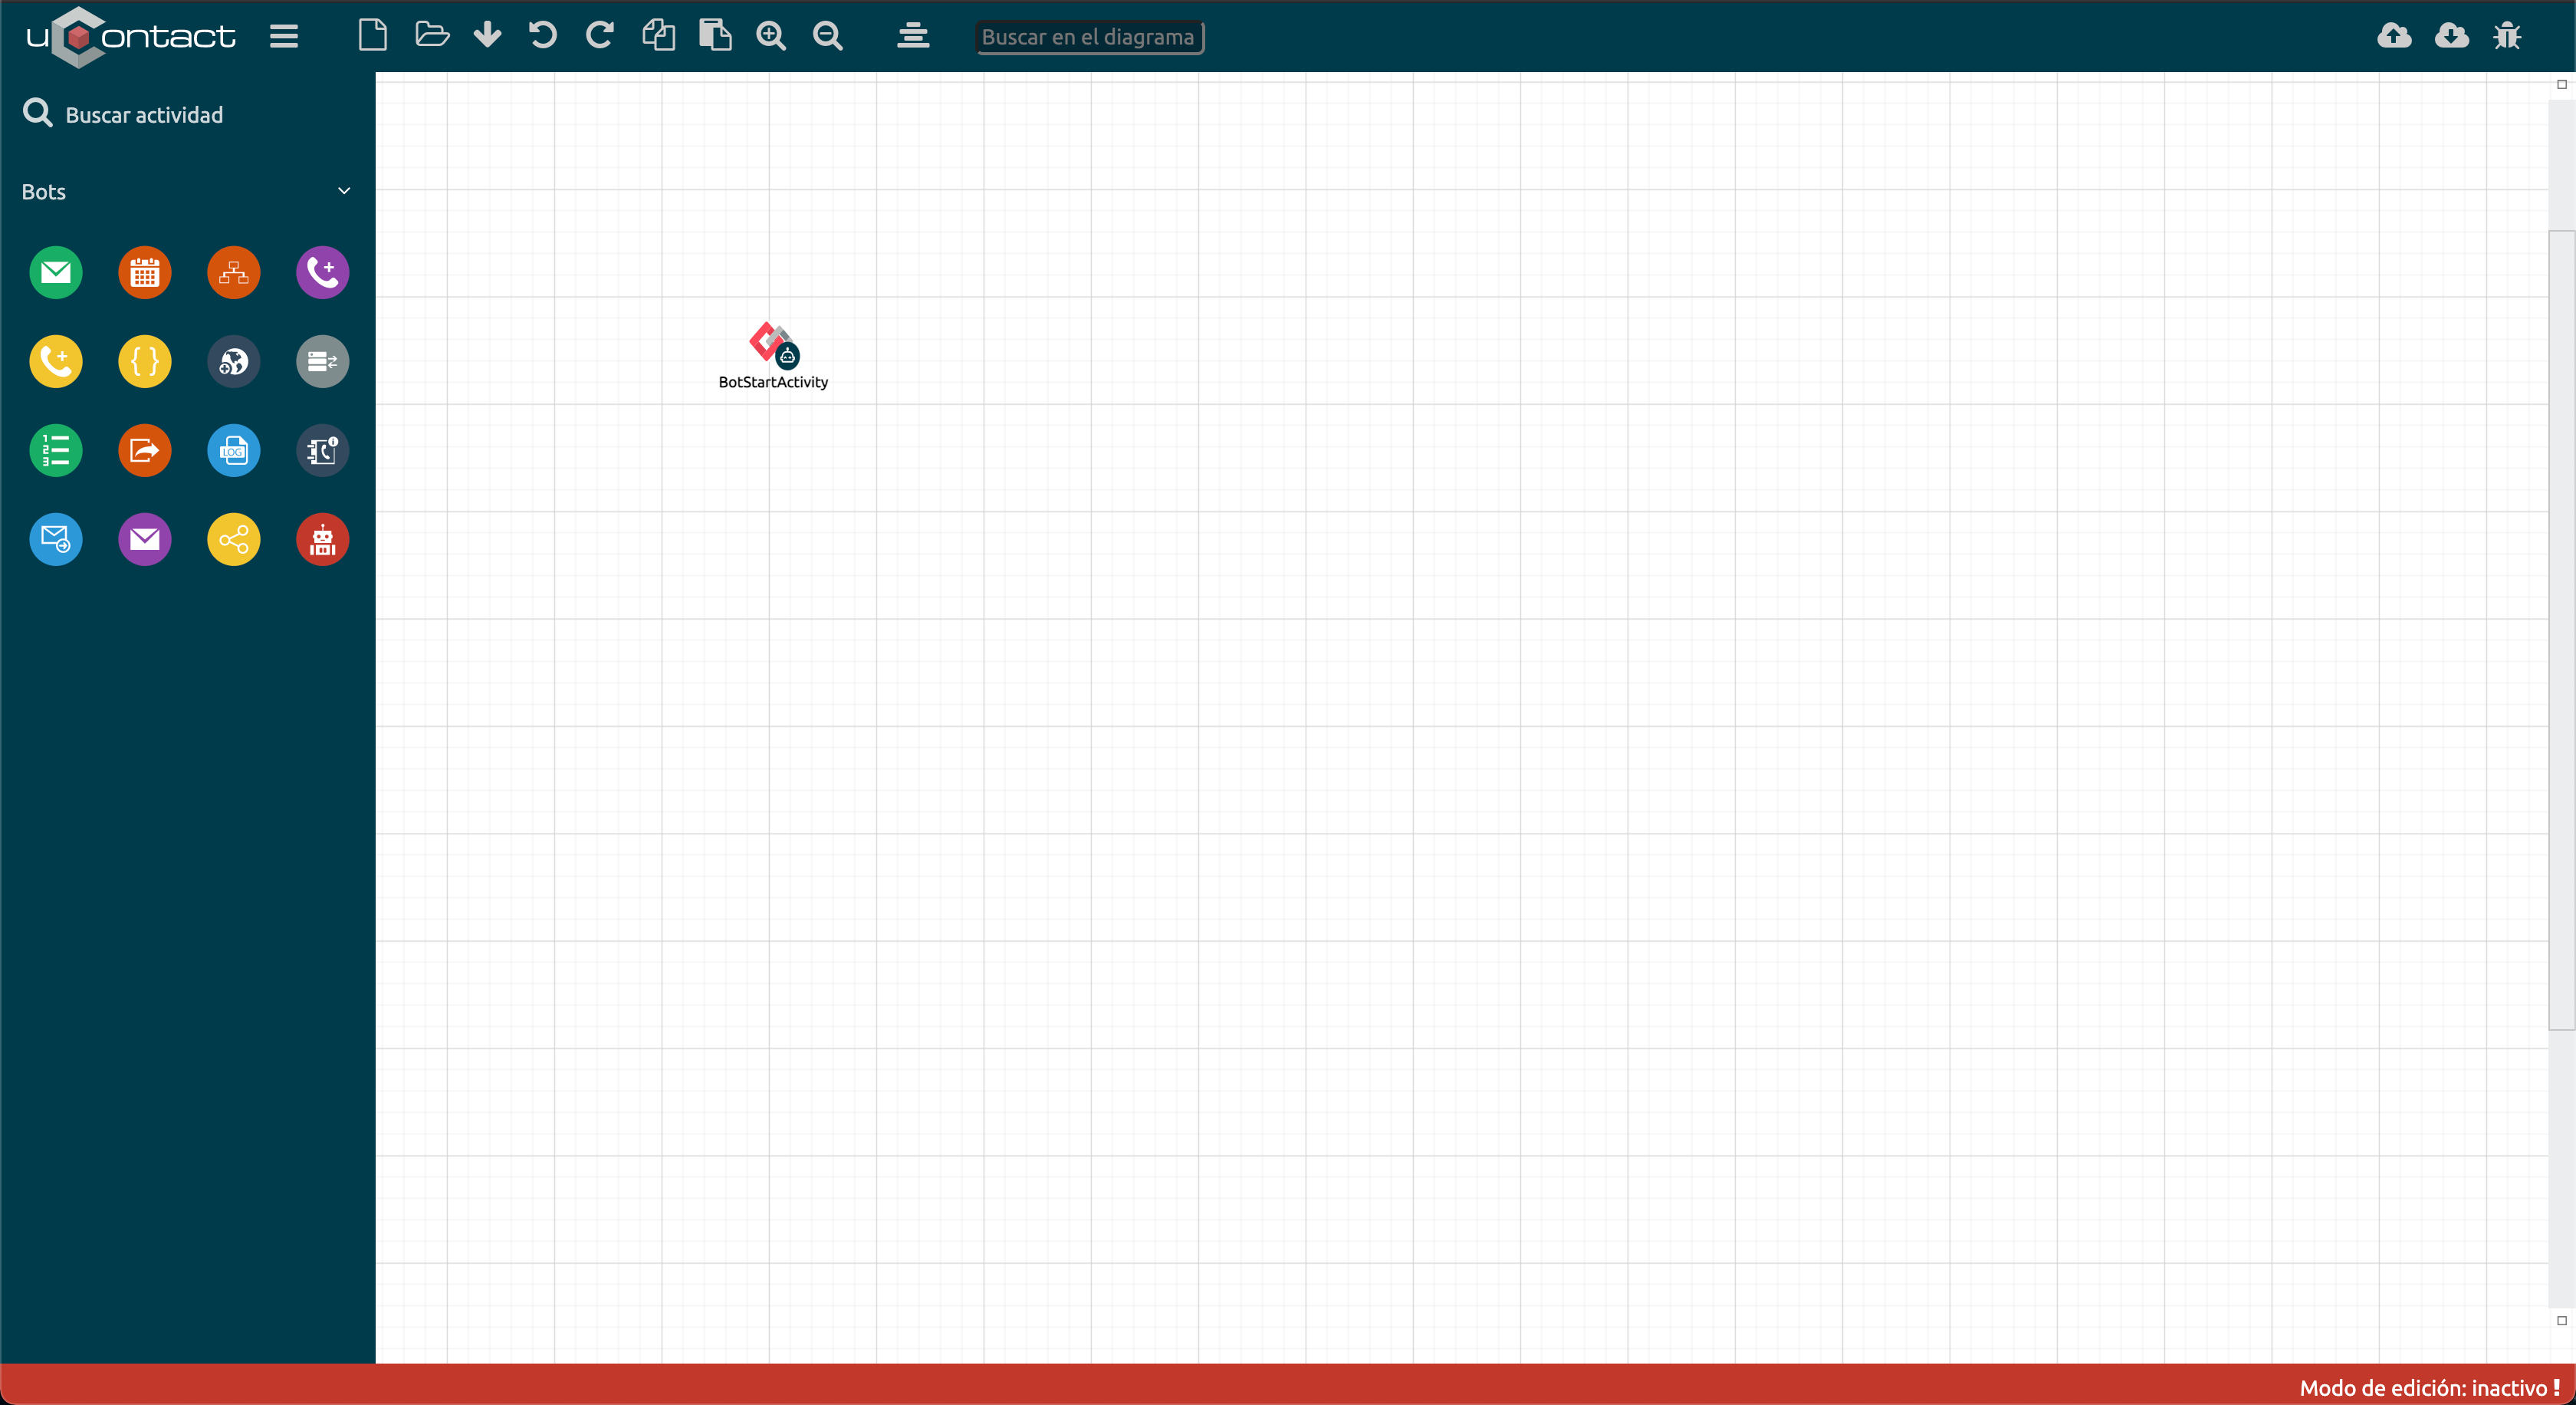
To do this, we go to the Workflow designer, where a blank page will open.
After placing a Start Activity of bots or bot function, on the left in the activities' menu, we will see a drop-down called bot.
The activities shown are all those available to be able to implement a bot.
| Tip |
|---|
Take note:
|
Bots activities
These activities allow you to control the bot's operation.
Global variants
There are certain customer data that is obtained from the interaction, they can be used in different activities.
The global variants are:
For every channel
CHANNEL
Channel through which the customer is contacted.CAMPAIGN
Interaction campaign.GUID
Unique GUID of the interaction.CLIENT_ID
SMS/WhatsApp
Customer phone number.Webchat
Content of the webchat Email field.Messenger
Webchat
PHONE_NUMBER
Content of the Webchat Phone field.CLIENT_NAME
Content of the Webchat name field.INITIAL_MESSAGE
Content of the message field.
SMS/WhatsApp
SMS_PROVIDER_TYPE
SMS provider through which the interaction arrives.INITIAL_MESSAGE
The message that started the interaction.
Messenger
CLIENT_NAME
Name of the client on Facebook.PAGE_NAME
Name of the page through which the interaction arrives.INITIAL_MESSAGE
The message that started the interaction.
EMAIL_SUBJECT
Contains the text corresponding to the subject of the email received.EMAIL_BODY
Contains the body of the received email.
| Note |
|---|
|
See how to create your first bot flow or download an example flow to get started.
Bots functions
Bots functions are bots that are used as functions. Its purpose is to be able to modularize certain sections of the bots in order to facilitate their development, testing and maintenance.
Bots functions do not consume bot licenses and are uploaded to the server with the context 'botsFunction'.
| Info |
|---|
The 'botsFunction' context will not exist until the first BotFunction is created. |
All bot activities can be used in BotFunctions, but they will start with BotFunctionStartActivity instead of BotStartActivity.

Bot administration
As of update 6.275 in the configuration of SMS, WebChat, and Messenger campaigns, we will see a drop-down menu called Bot name, when displaying it, all the bots created are listed.
%2015.39.59.jpg?version=1&modificationDate=1638544341357&cacheVersion=1&api=v2&width=442)
After selecting the desired bot for the campaign, simply press the Save button and your campaign will start working with bots.
| Warning |
|---|
|
| Tip |
|---|
|
How to create the first bot?
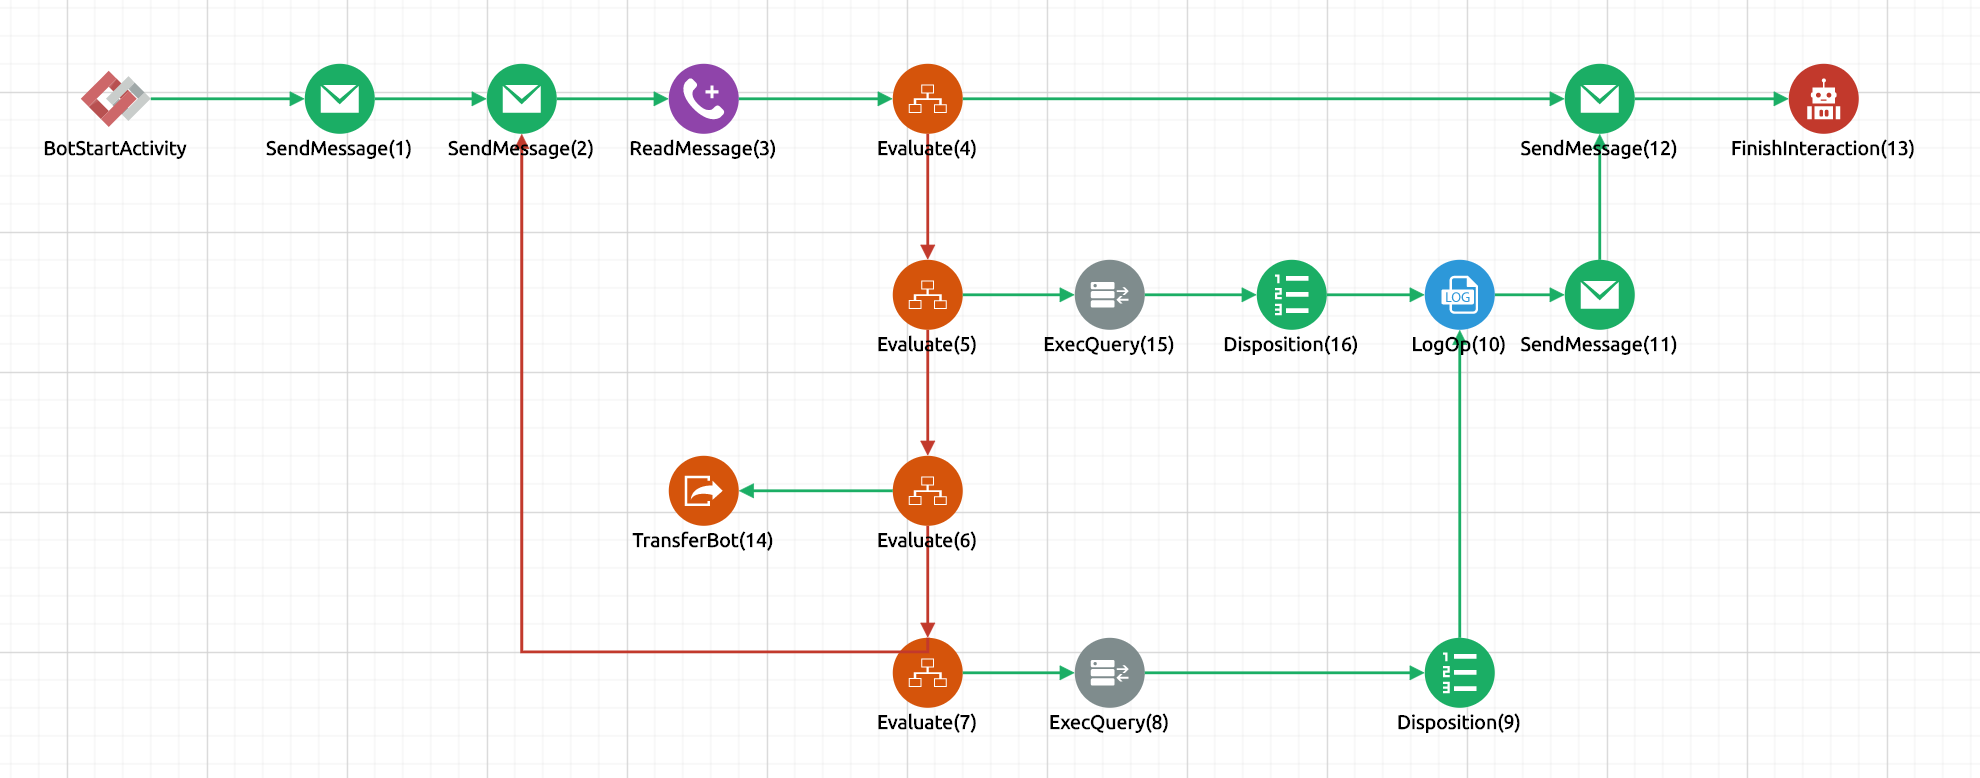
In this section we will see how to create a basic flow containing the following actions:
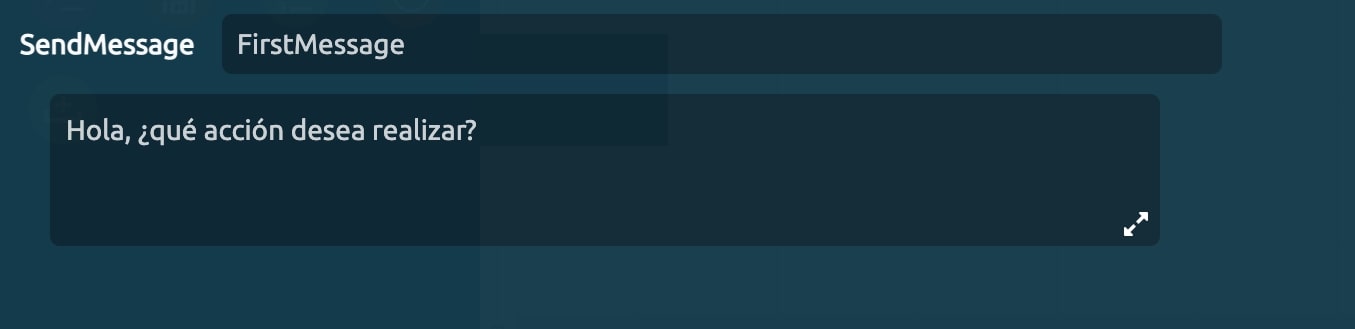
Presentation - SendMessage
Options - SendMessage
Obtain answer - ReadMessage
Evaluate answer - Evaluate
Finish disposition interaction - Disposition
Insert a user in a chart - ExecQuery
Transfer to a campaign - TransferBot
Consultar la versión del sistema y guardar la variable - LogOp
Utilizar la variable en una respuesta y finalizar la interacción - SendMessage
Comenzaremos por agregar la acción de BotStartActivity y ponerle un nombre al bot.
Este nombre es el mismo que se mostrará en el menú desplegable de configuraciones.
Luego agregaremos dos SendMessage que se enviarán seguidos.
El primero será nuestra presentación. En él advertimos al usuario de que debe seleccionar una de las opciones que le daremos a continuación.
En el segundo daremos las opciones, haciendo una por línea y comenzando con número y guión.

En esta instancia el bot espera la respuesta del cliente, para ello debemos agregar la actividad ReadMessage y nuestro flujo será como el siguiente:

Ahora le agregamos los Evaluate para analizar la respiuesta obtenida. Cómo colocamos cuatro opciones, utilizaremos cuatro.
En cada uno indicaremos la condición que debe tener la variable para que sea válido.
%2012.34.20.jpg?version=1&modificationDate=1638544339777&cacheVersion=1&api=v2&width=544)
Para cada opción le agregamos su destino, es decir, en el segundo y cuarto Evaluate utilizaremos ExecQueryJSON y en el tercero un TransferBot.
En el primer ExecQuery escribiremos un insert, en el desplegable seleccionamos la base de datos en la que se realiza y en la variable le pondremos un nombre para utilizar luego en la respuesta, en este caso es respond.
En el segundo realizará una consulta por versión del sistema, en el desplegable seleccionamos la base de datos en la que se realiza; y en la variable pondremos el mismo nombre que se utilizará luego en la respusta, en este caso es respond.
%2010.46.44.jpg?version=1&modificationDate=1638544339508&cacheVersion=1&api=v2&width=544)
En el TransferBot pondremos el nombre de la campaña a la cual será transferido el cliente.
%2014.32.40.jpg?version=1&modificationDate=1638544339645&cacheVersion=1&api=v2&width=544)
Hasta aquí solo resta agregar un SendMessage devolviendo la respuesta, seguido de un FinishInteraction.
Ahora solo resta unir nuestros flows, o ajustarlo a nuestras necesidades agregando tipificaciones. logs o WS, y quedaría algo similar a lo siguiente:
| Tip |
|---|
Luego de terminado simplemente lo activamos, agregamos a la campaña y tus bots comenzarán a funcionar. |
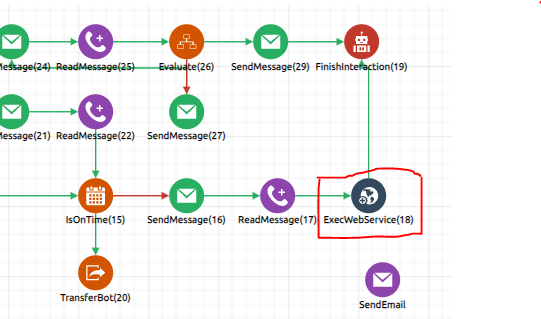
Enviar correo a través de WS de uContact
Si deseas enviar un correo desde una campaña específica y un destinatario específico, debes configurar lo siguiente:
Add the activity ExecWebService to your workflow:
Log into the configuration:

Fill the body with the following information:
Code Block body={"campaign": "Email","to": "adress@ucontactcloud.com","cc":"example@example.com", "cco":"example@example.com,example2@example2.com", "subject": "Subject", "body": "This is an email body can be HTML", "attachments": ["020212/738hbjk-h73894algo.jgp", "020212/738hbjk-h73894algo.jgp"], "reports":["<generated_report_guid>.pdf"], "schedule": { "title": "Date title", "organizer": "Myself", "from": "2018-08-24 00:00:00", "to": "2018-08-24 01:00:00" }, "template": "templateName", "variables": { "var1":"value", "var2":"value2" } }&agent=nombreAgente
Example:
| Code Block |
|---|
body={"campaign": "Comercial","to": "gmorales@integraccs.com","cc":"mauricio@cleverideas.com.mx","subject":"Cliente en espera de ser atendido","template": "CleverBOToffline","variables": {"cliente": "${CLIENT_ID}", "texto": "${msgoffline}"}}&agent=generalBot |
Y en la URL debemos setear lo siguiente:
| Code Block |
|---|
http://localhost:8085/IntegraChannels/resources/Forms/SendMailv2 |
Finally, set POST in our method and x-www-form-urlencoded for the content type.

Configure interaction headers
It is possible for the bot to configure custom headers so that the agent can have additional information about the interaction (client number, case number, etc.) at the top of the box in the unified inbox.
(photo of the unified inbox with headers of example)
It is necessary to set an array in the variable VARIABLES.HEADERS and add the header objects
| Code Block |
|---|
VARIABLES.HEADERS = [];
VARIABLES.HEADERS.push({icon: "fa-user", title: "Nombre de cliente", value: "John"}) |
Bot code example
Simple bot example:
| View file | ||
|---|---|---|
|