Supervisor
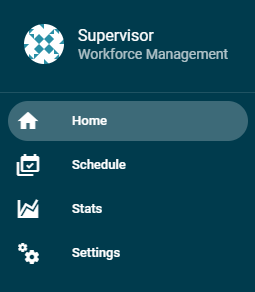
Menu
The menu has four options, in addition to a button where the supervisor can view the requests. In case of requests, the supervisor button displays a notification with the number of pending requests.
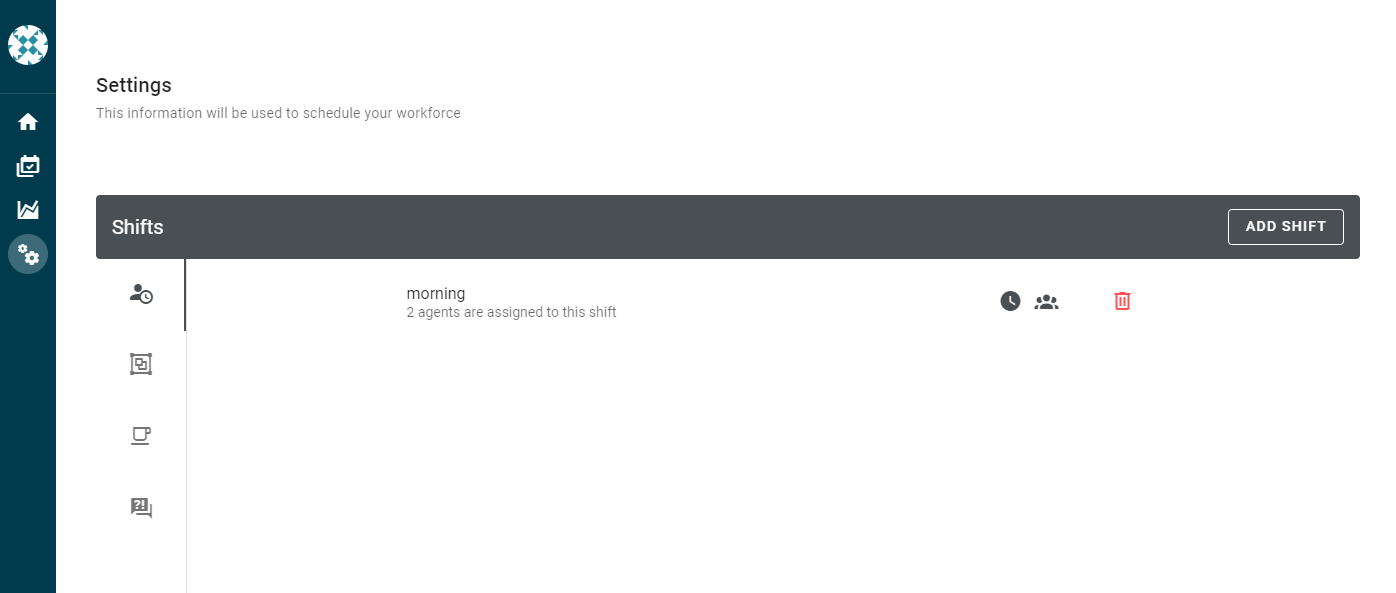
Settings
Here are the configurable parameters of the system, which are divided into four:
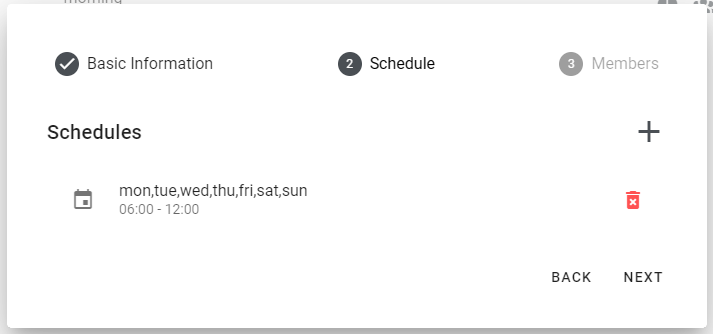
🔹 Shifts
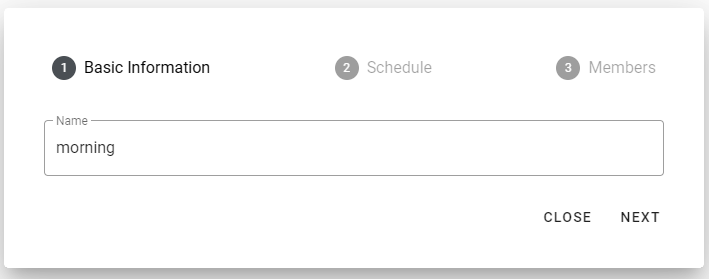
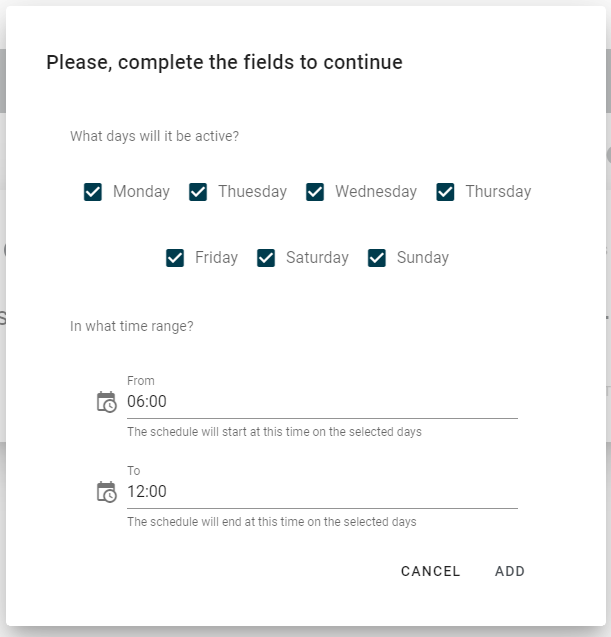
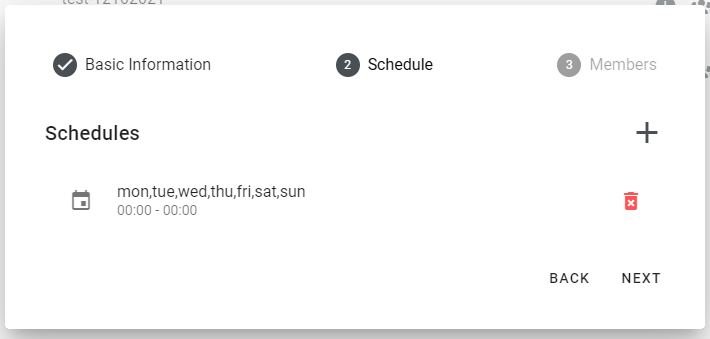
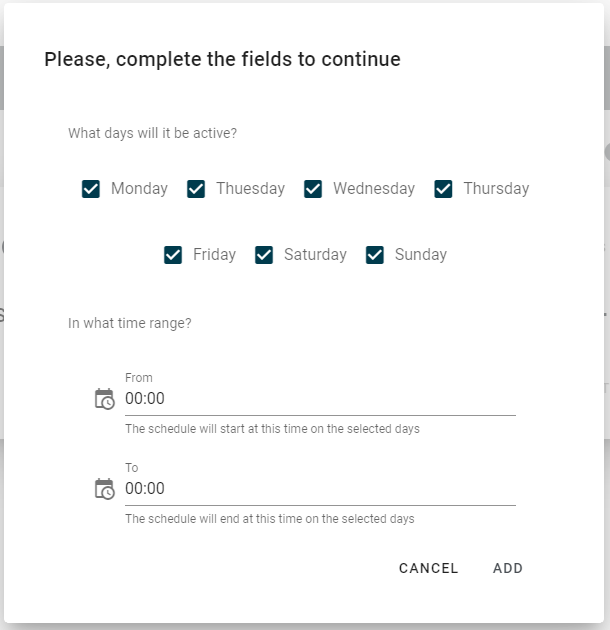
The shifts are configured as a weekly schedule, they must be fulfilled by an agent.
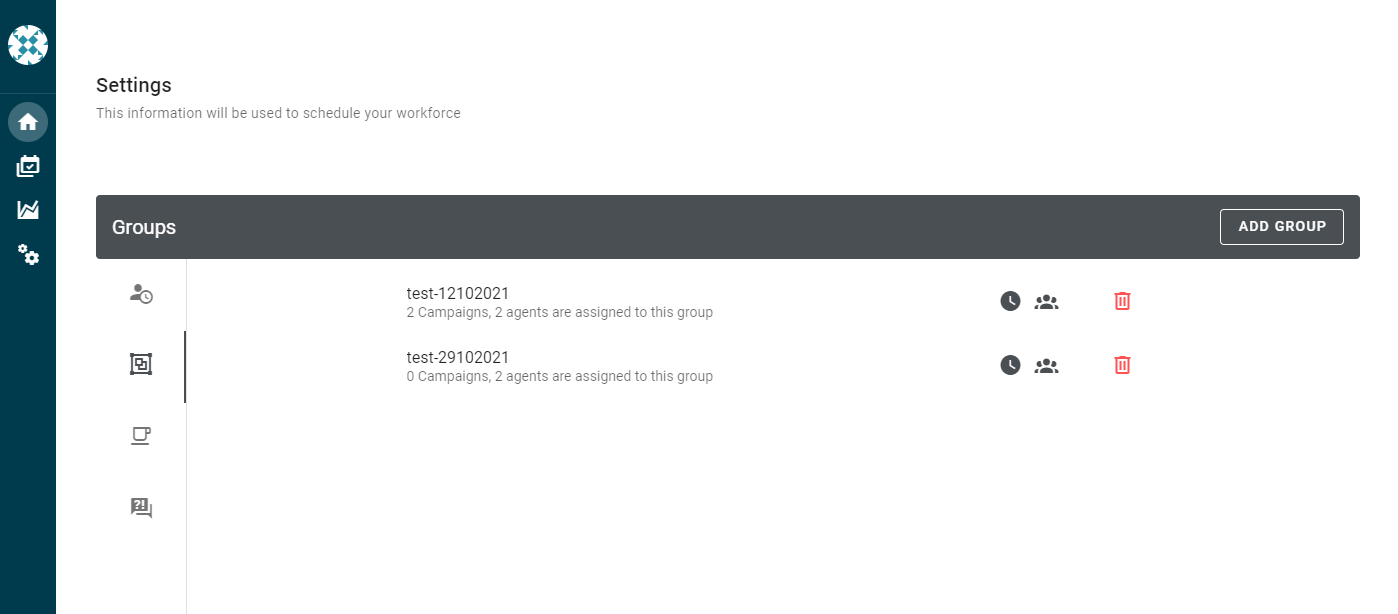
🔹 Groups
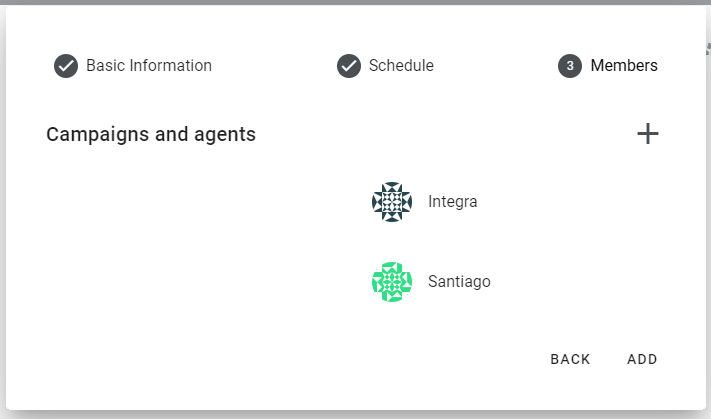
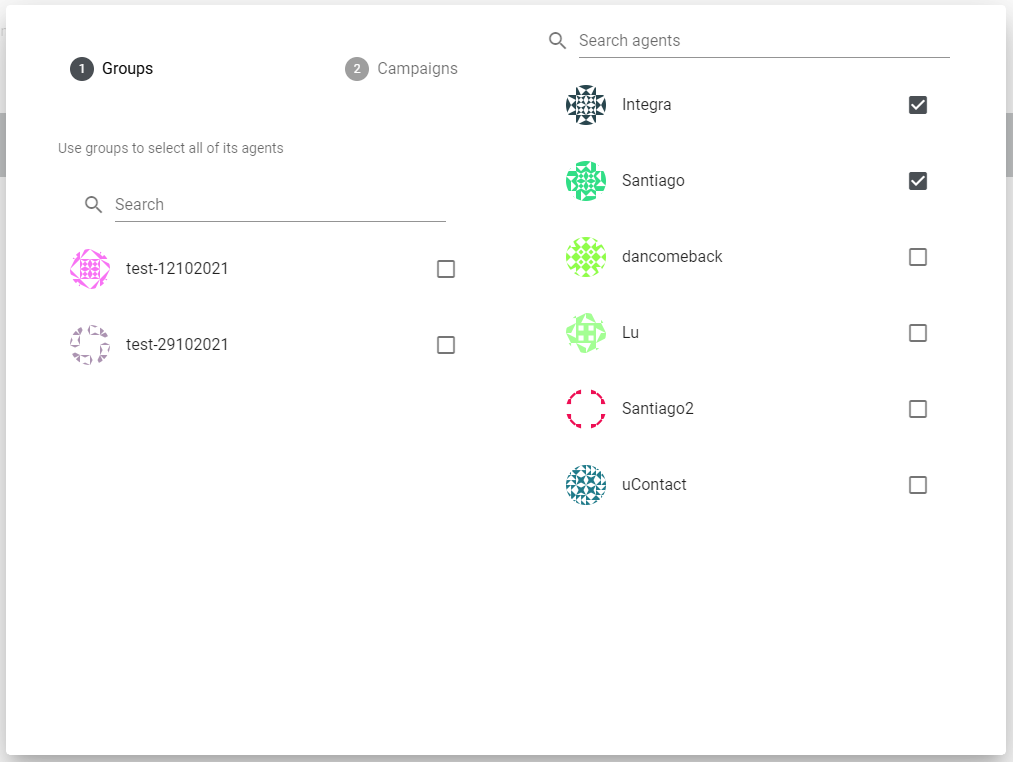
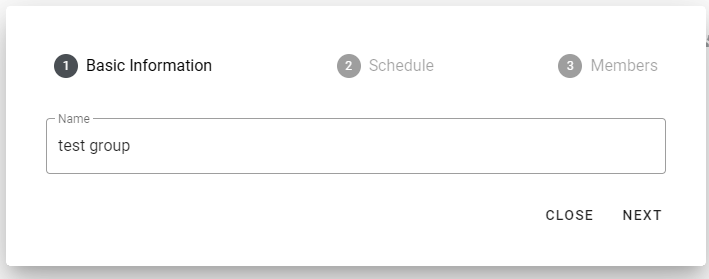
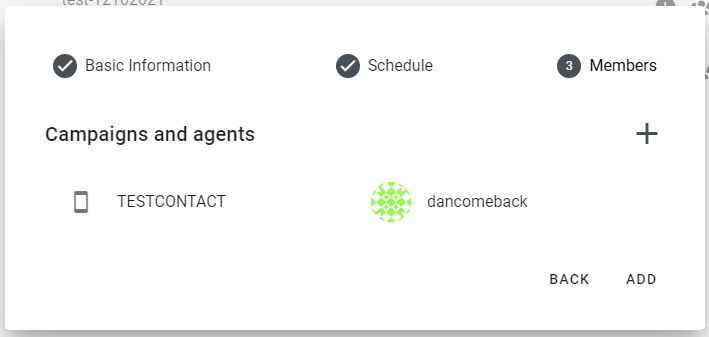
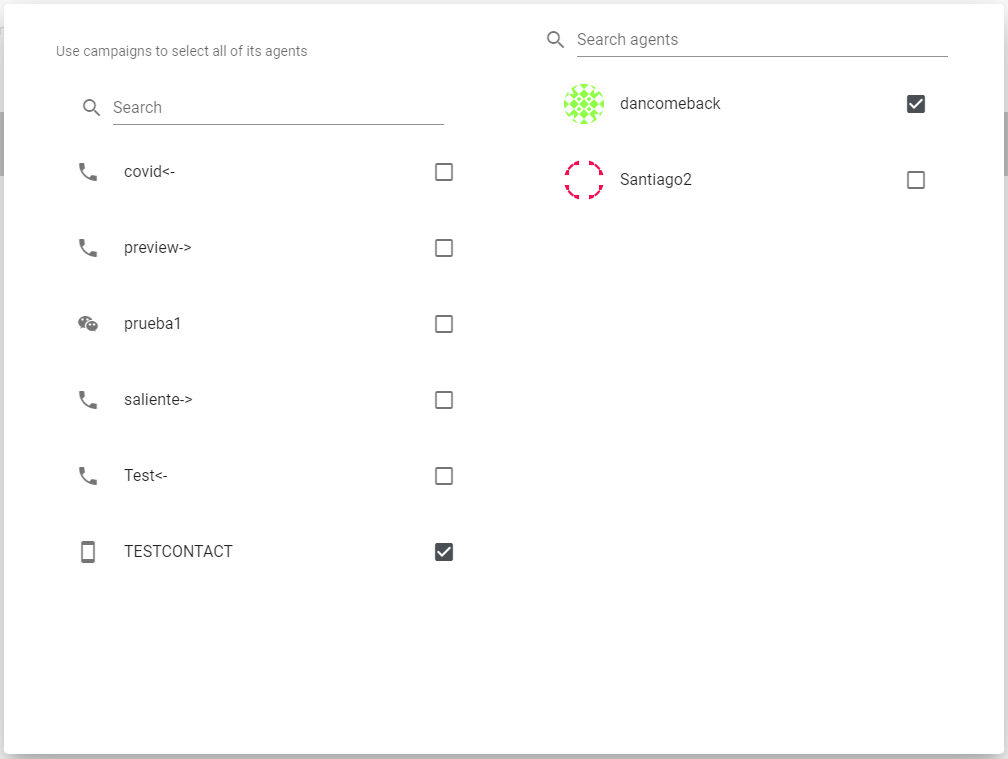
It is used to group campaigns and agents into one specific schedule.
🔹 Breaks
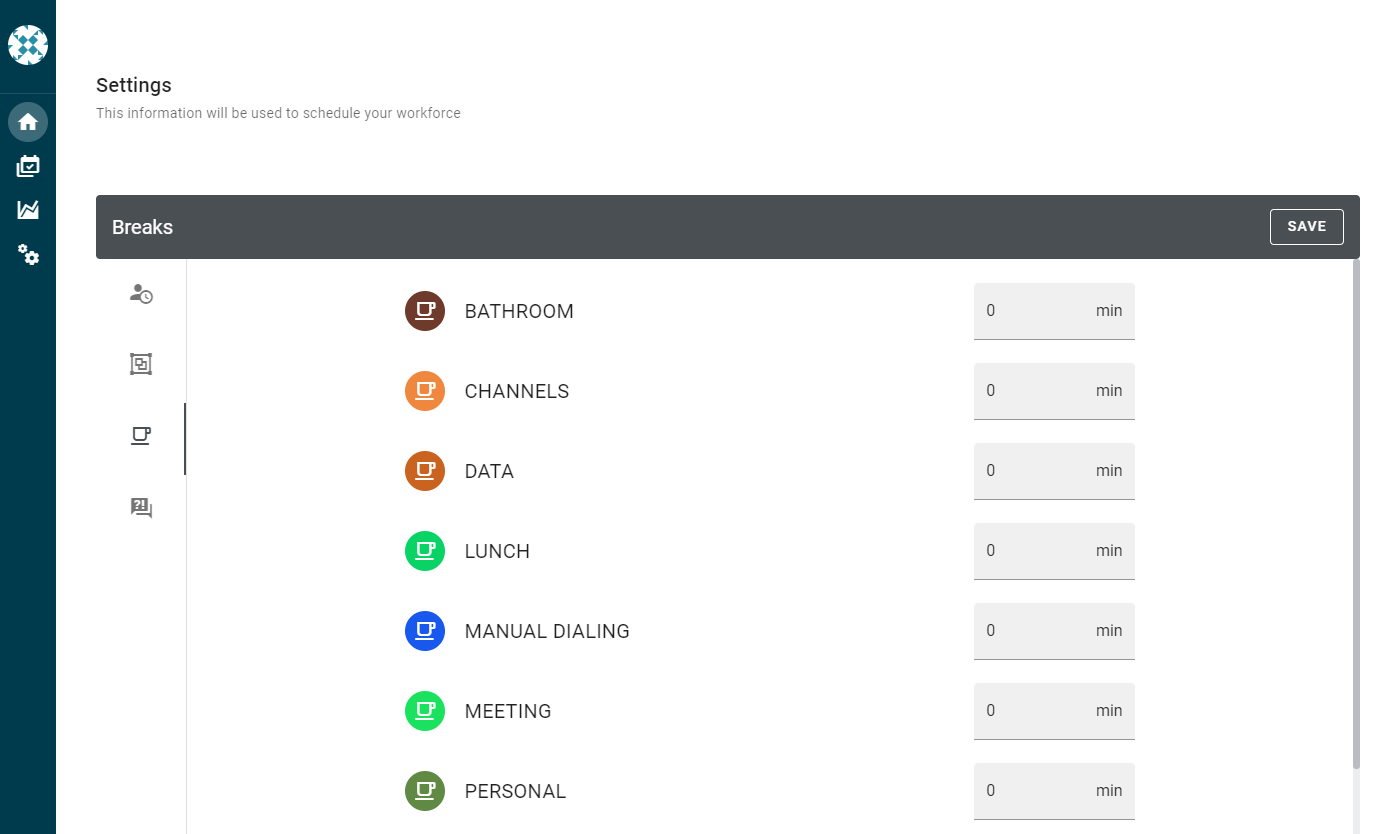
It shows every break created in uContact, here you can configure a used time limit for the breaks in the schedules of every agent.
🔹 Requests
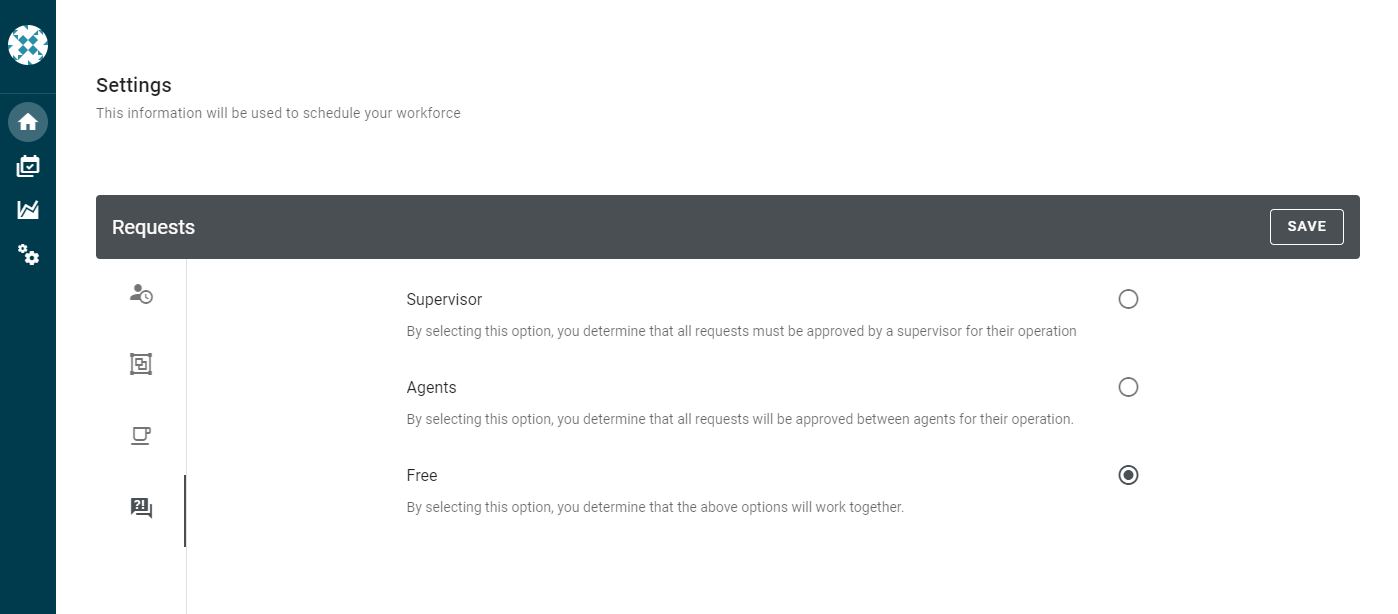
It allows selecting the setting option for the requests system.
Home
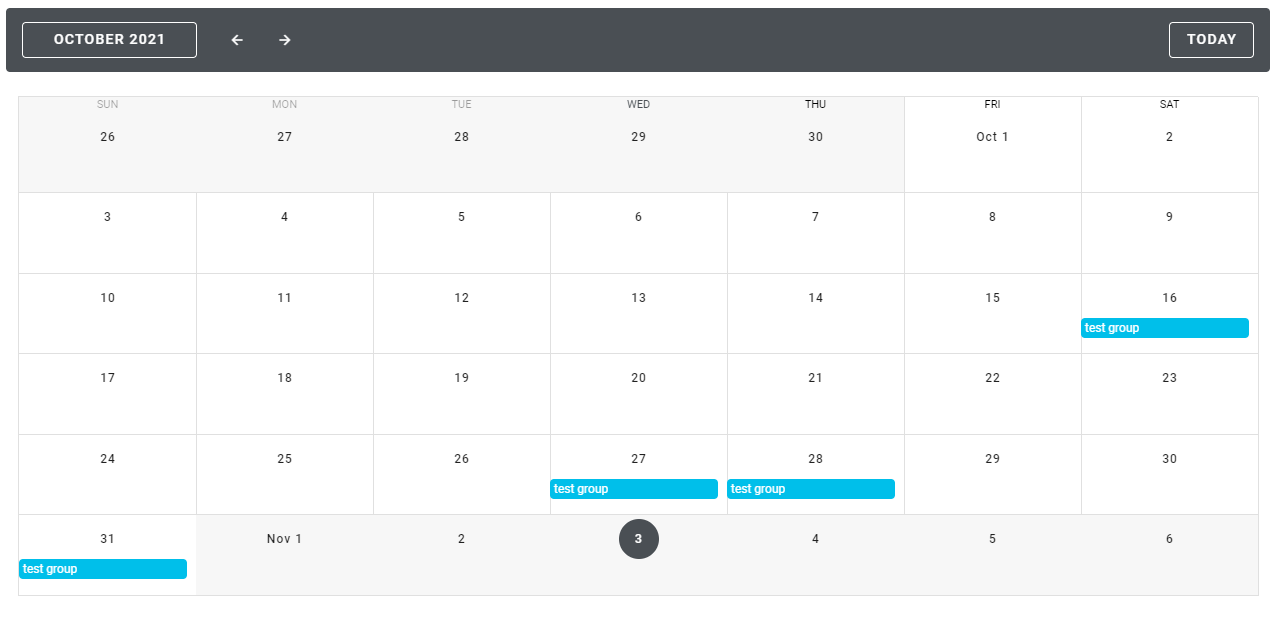
The homepage displays a calendar in which we can visualize the days that have or do not have scheduled events. If we click any day, it will redirect us to the corresponding schedule.
You can also generate a new schedule from here.
Schedule
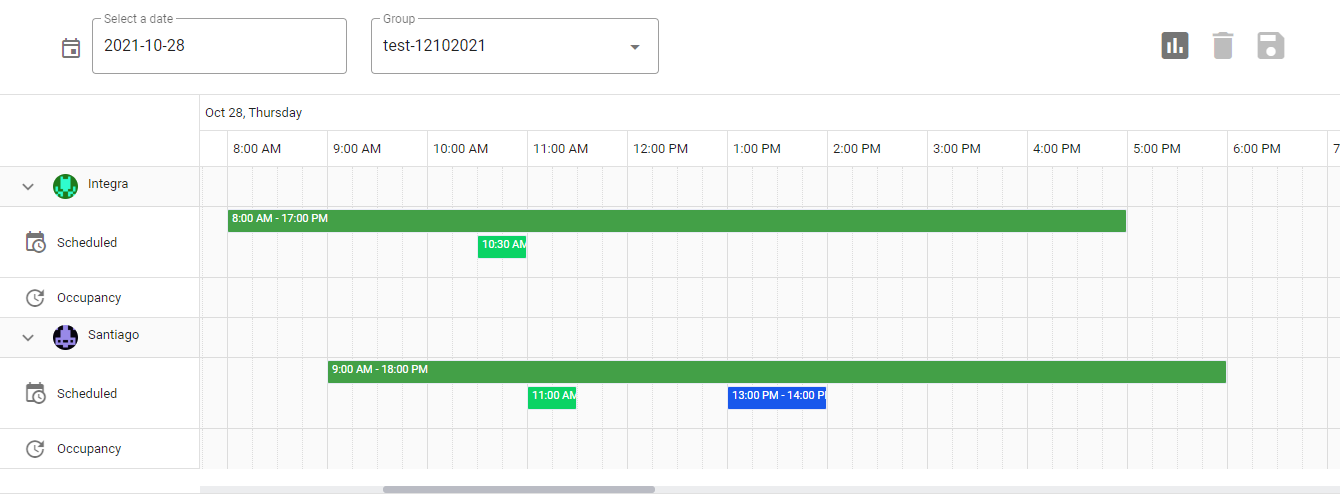
Here you can see the schedule for the day, if there is none configured, an option to create e new one will be displayed.
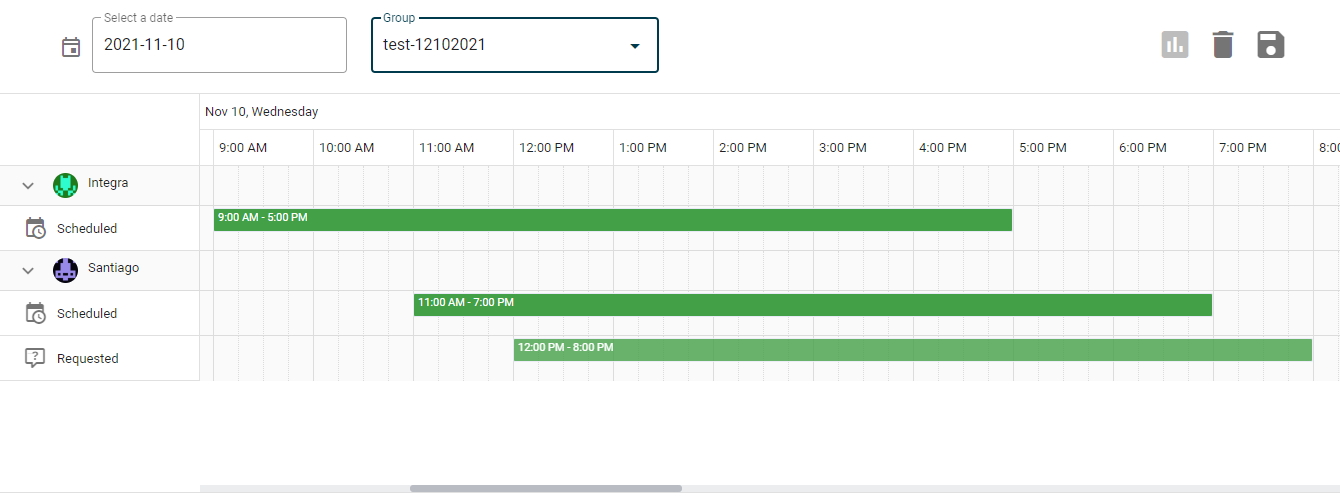
If the selected date is greater than today, a schedule is displayed in which you can see both the scheduled and the change requests by agent.
If the selected date is equal to or less than today, a schedule is displayed in which you can see both what is scheduled and what is done by the agent.
The schedule is represented as a table of hours and resources, identifying the events as blocks that occupy the time boxes.
The white time boxes are the schedules that the group has available for each agent in their respective shifts, in the otherwise they are represented with gray boxes which indicate that it is outside working hours.
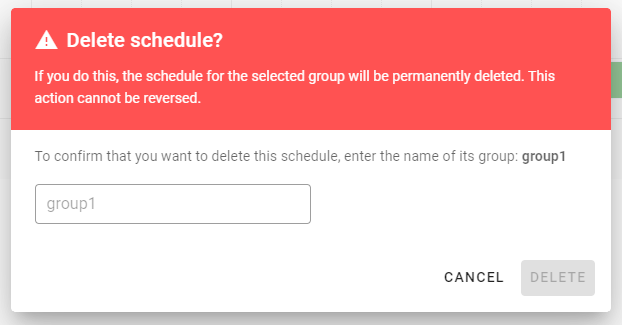
In the upper right corner you can find a button to save the changes or delete the schedule for the selected group and day.
Generate a schedule
You can generate a schedule through the homepage or to the calendar within a date that does not have a schedule.
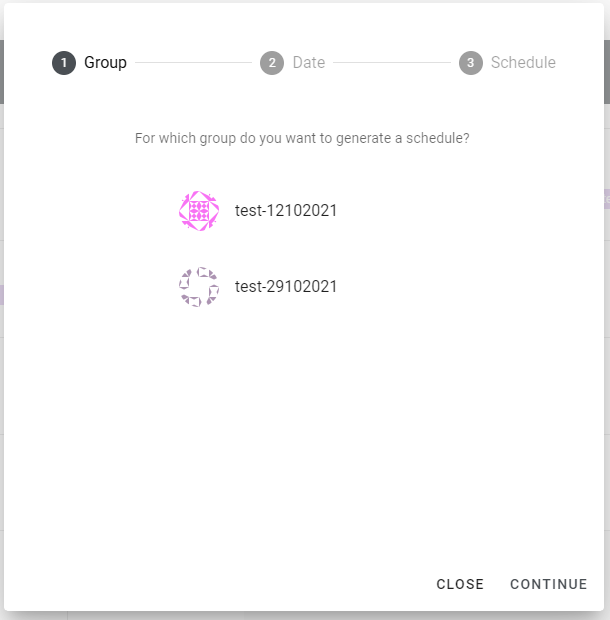
The creation form requests as the first parameter the group to which the new information will be destined.
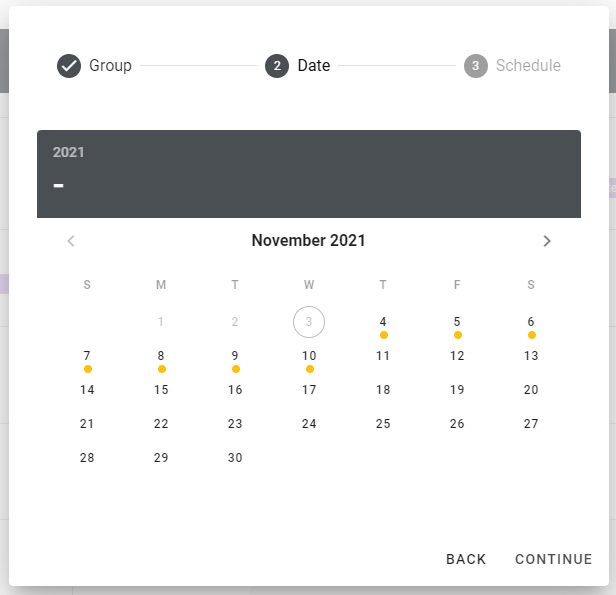
The second thing that needs to be set is the date or date range. Clicking on the calendar days selects the days. The first click selects the first day of the range, the second click selects the last day of the range.
The calendar will show the days with events and the days when the group does not work.
In case of selecting a range with unavailable days in the middle, the agenda will only be created for the days configured in the group.
Example, if a week from Monday to Sunday is selected for a group that only works from Sunday to Friday, the set schedule will be from Sunday to Friday.
| Note |
|---|
|
Schedule modification
If you want to modify a schedule, you must go to the schedule and select the day you want to configure.
The agenda can only be modified if the selected day is greater than today.
Events can be dragged or resized horizontally.
By clicking on an event you can see the information, as well as a button to remove it from the schedule.
By clicking on an available time box, a form is displayed in which the type of event can be selected.
In case of being a work event, it is generated in green.
You can manipulate the size of the event.
You cannot create work events on top of other work events.
In case of being a break event, it is generated in red.
You can manipulate the size of the event.
There can be no break events outside of a work event.
In case of being a day off event, it is generated in black.
You cannot manipulate the event.
When creating such an event, all events for that day are removed.
If desired, the day off can be eliminated.
To save the changes or delete the schedule for the selected group and day, use the buttons in the upper right corner.
Requests
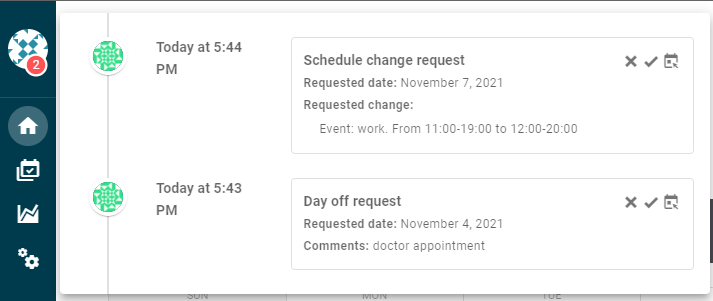
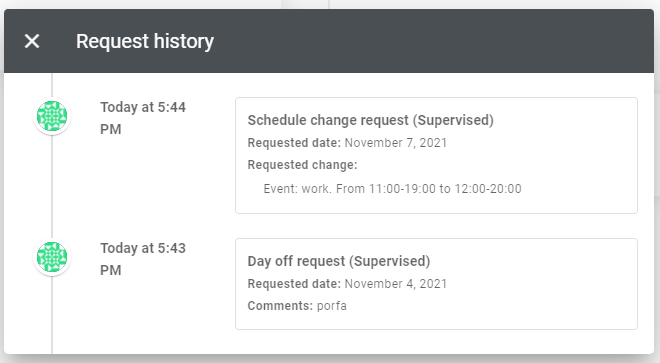
By clicking on the supervisor button, a panel with the change requests made by the agents is displayed, these are shown in a timeline taking as reference the creation date of the request.
Each request shows the type of request, date requested, schedule change requested, and comments made by the agent.
Agent
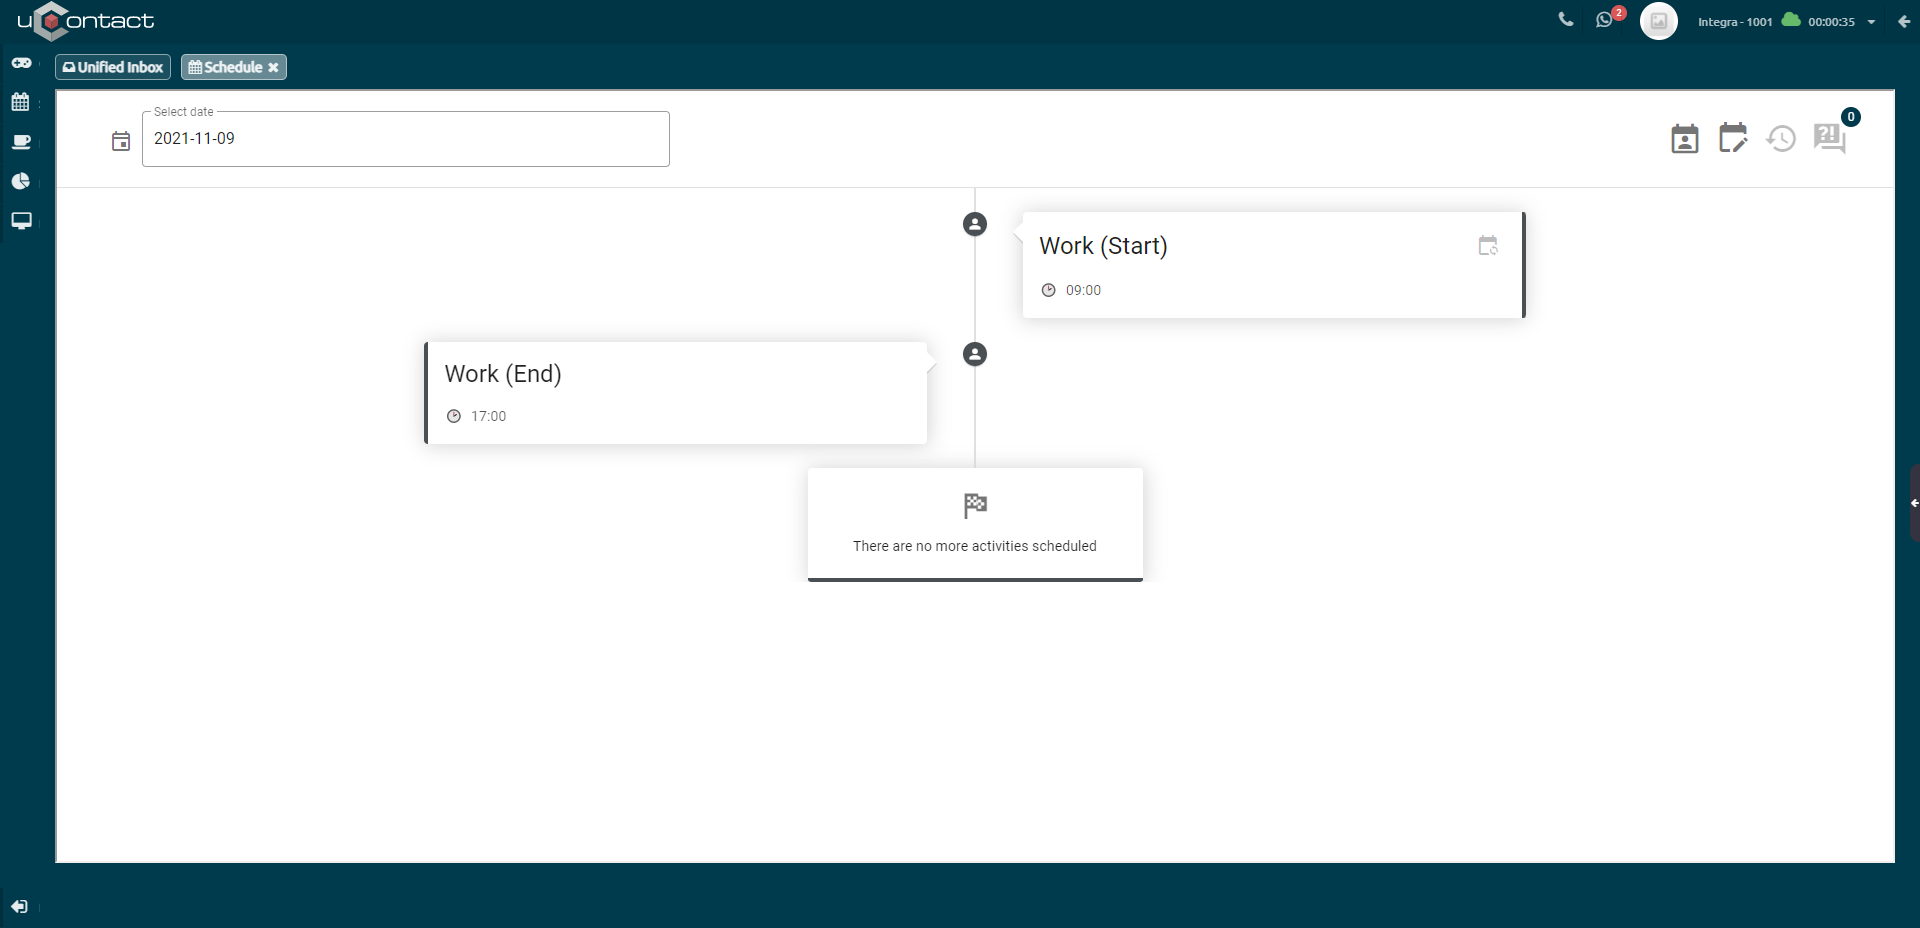
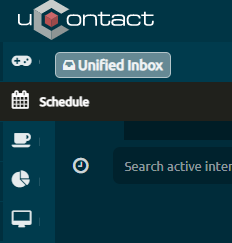
To access the agent's schedule, in the uContact menu there is a new option called Schedule. When clicked, a new uContact tab will be displayed with the corresponding agenda.
Here the agent can see his agenda by day, ordered chronologically.
Requests
In the upper right corner, they have the different options related to the requests.
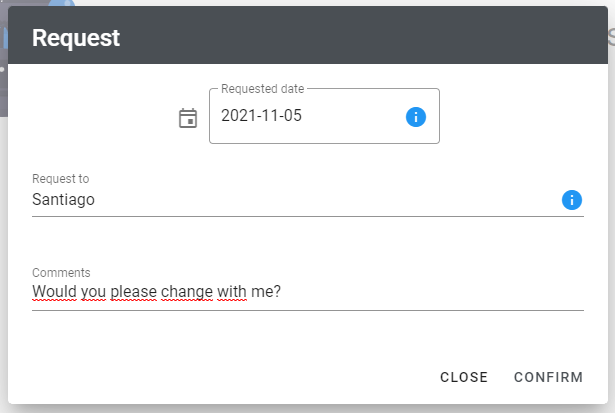
Schedule change request
Only available between agents.
It contains a request form in which you can select the date on which you want to change the schedule, and the agent you want to change to.
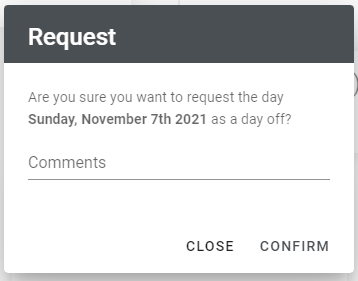
Day off request
Supervisor
Agents
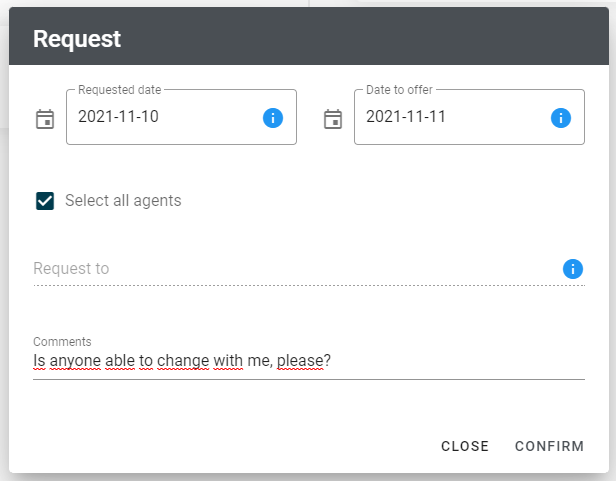
It contains a request form in which you can select the dates you want to exchange.
The requested date must be a working day, and the date to offer a day off. The request can be sent to a specific agent or free for any agent that meets the conditions.
Request history
Pending requests
It contains a timeline with requests created by other agents, which are pending change.
Schedule
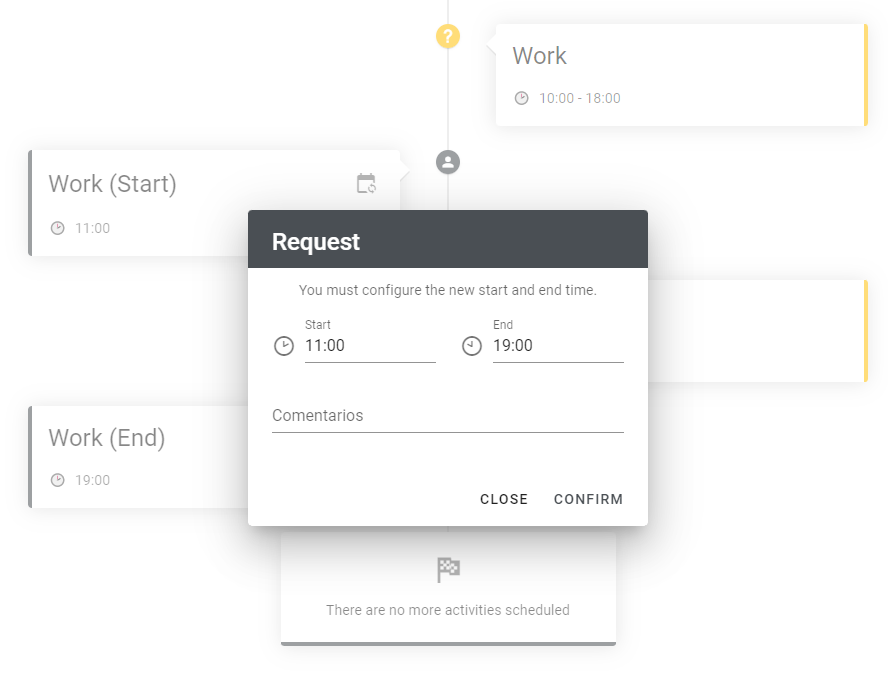
In the timeline, you can see the events that you have scheduled in order. You can also make a schedule change request for them.
Time change requests are shown in the timeline, if the requests are pending, it is shown in yellow, and if rejected, it is shown in red.
Stats
Advantages of Workforce stats
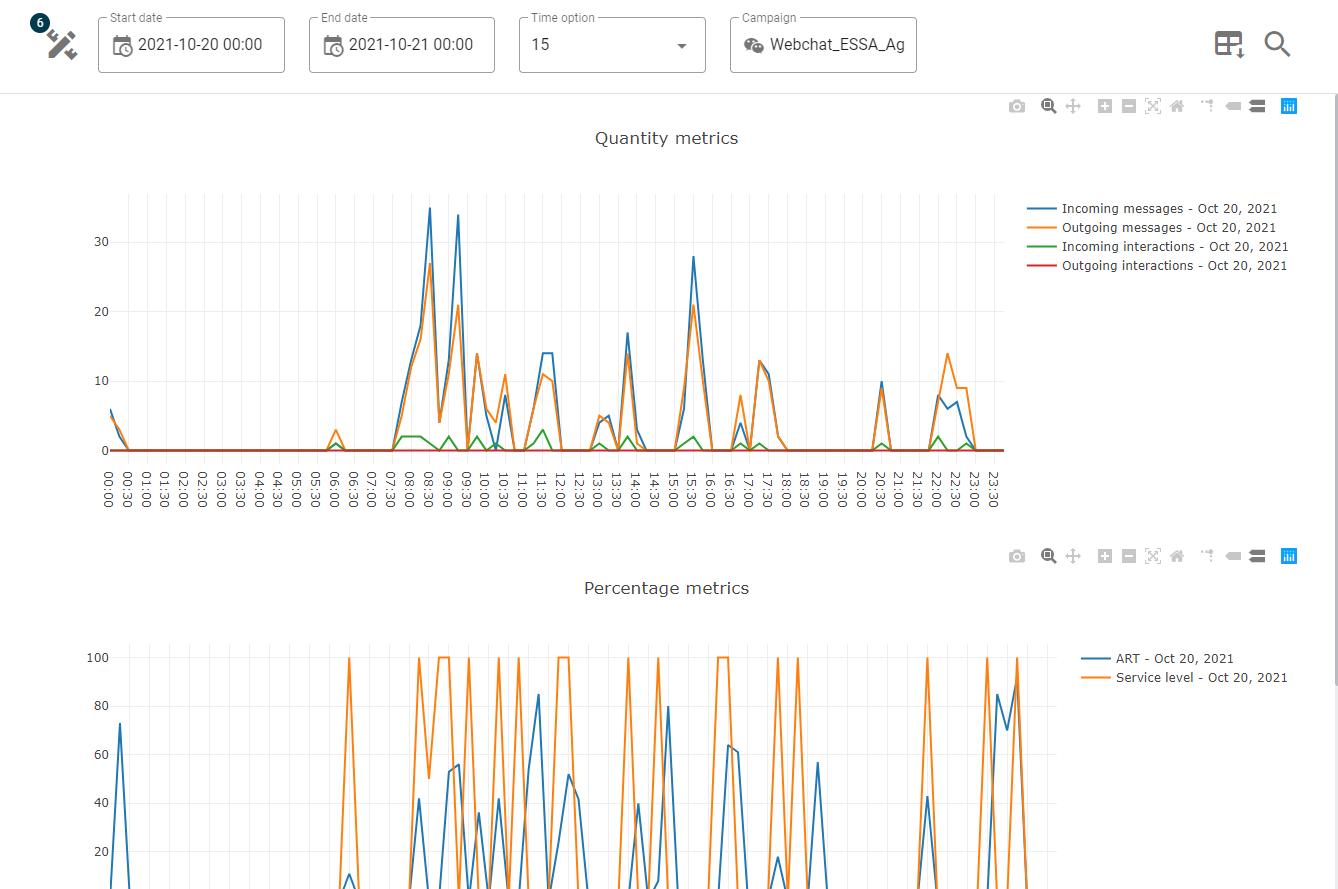
The stats generate graphs that help us to better understand the information that is displayed.
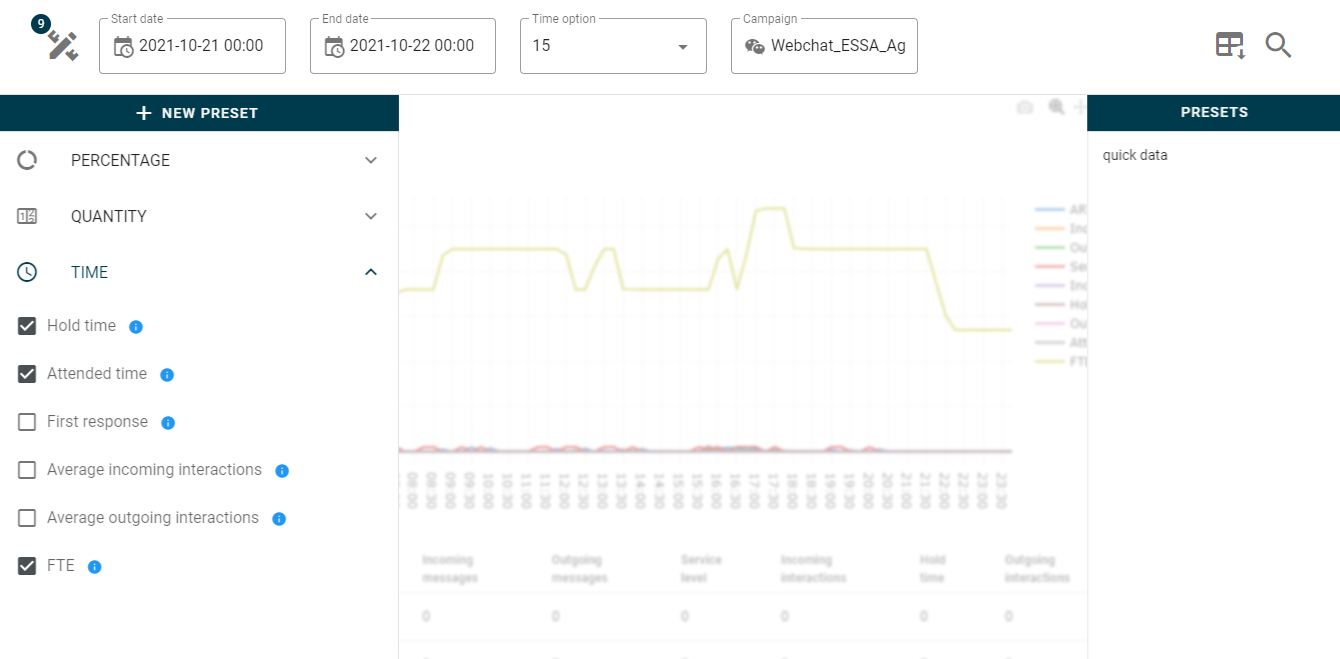
They allow us to choose the metrics that we want to visualize.
They allow you to view the information in periods.
They allow the downloading of information in Excel or PDF format.
Unify all channels.
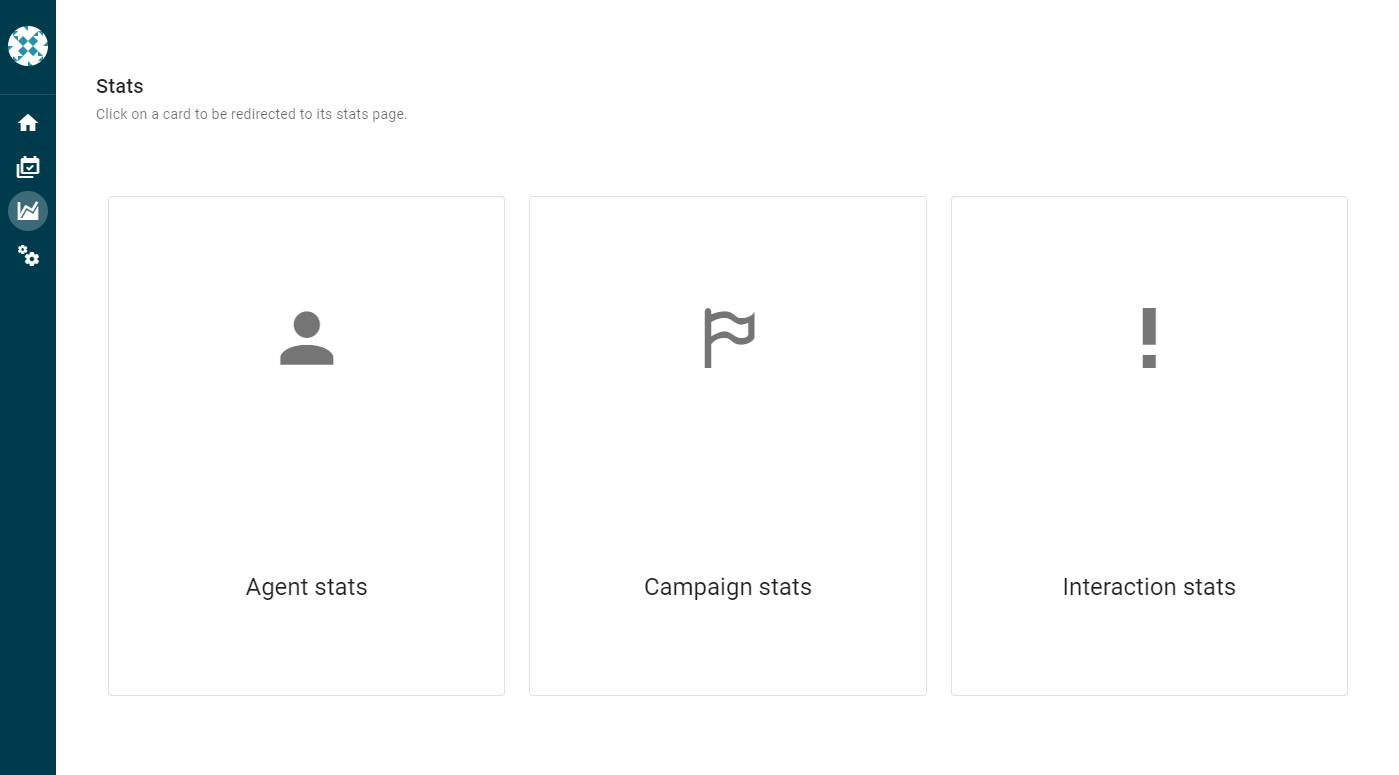
The campaign stats generate information on all the campaigns configured in the system: waiting time, service level and many more.
🔹 AGENTS
Agent stats show individual information about login time, time on call, available time and many more.
The interaction stats show individual information of all the interactions that were attended in the system.
Metrics
Customizable metrics allow you to customize the information you see. In addition, they allow you to save their presets to create personalized reports.
Graphics
The information can be divided into periods of 15, 30 or 60 minutes, and with this you can display graphs to see how the indicators evolve throughout the day.
Metrics information
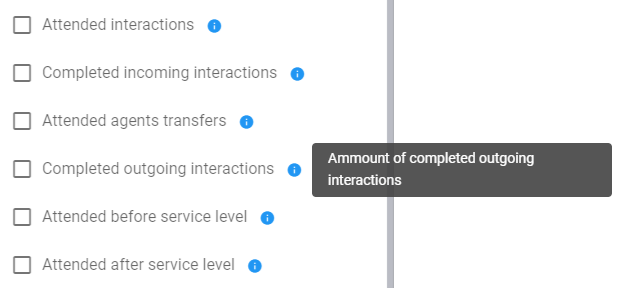
All metrics have a brief description of what they represent.
Database
agent_stats
Generates a record per agent every 15 minutes in the event that the agent is logged in.
date | agent | obj |
|---|---|---|
2020-07-02 13:30:00 | Matías | {...} |
2020-07-02 13:45:00 | Santiago | {...} |
campaign_stats
Generate a record for each campaign if the campaign is active.
date | campaign | channel | obj |
|---|---|---|---|
2021-05-14 08:15:00 | Soporte_Agencias | SMS | {...} |
2021-05-14 07:45:00 | Cambios_Operacionales | Webchat | {...} |
interactions_stats
It generates a record for each time an interaction enters a queue, therefore, the same interaction can generate many records. Start date is the date the interaction was transferred or entered the queue. In case it is an outgoing interaction, it is the moment of its creation.
guid | start date | campaign | channel | data |
|---|---|---|---|---|
0f065b76-0d69-442f-9b81-247c6d9c2622 | 2021-04-22 00:26:30 | Ventas | {...} | |
0f065b76-0d69-442f-9b81-247c6d9c2622 | 2021-04-22 00:27:30 | Soporte | {...} |





%2010.59.38.jpg?version=1&modificationDate=1635964603384&cacheVersion=1&api=v2&width=442)
