Ubuntu Server Installation
Download and use the image:
ubuntu-16.04.4-server-amd64.iso
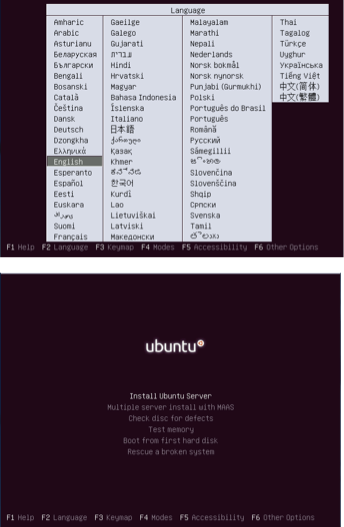
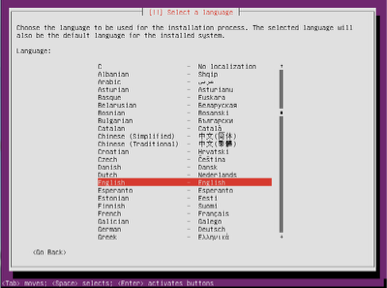
Select the default language (“English”). It should not be put another, then press enter.
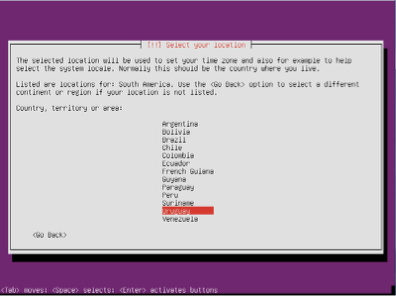
Select the country in which the installation is being made, then press enter.
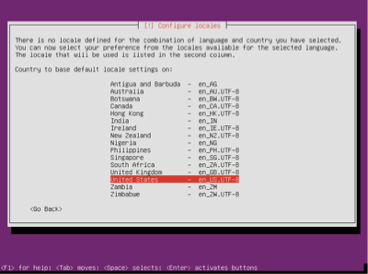
Select default locale settings shown in the picture, then press enter.
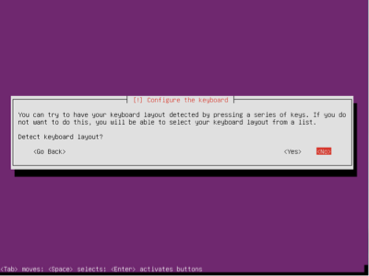
Select no keyboard and press enter.
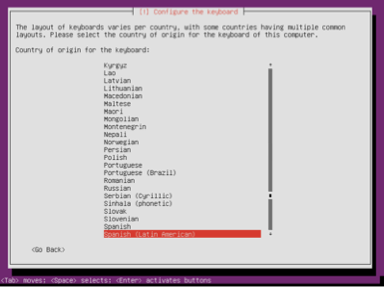
Select keyboard layout and press enter.
Select the exact specification of the keyboard and press enter.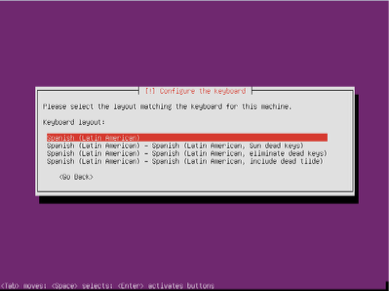
Put the name of the equipment to be installed in this case " INTEGRASERVER " and press enter in continue .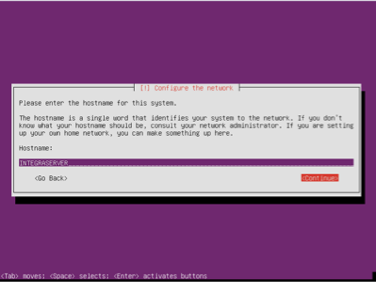
Create a new user in this case is called integra and press enter in continue.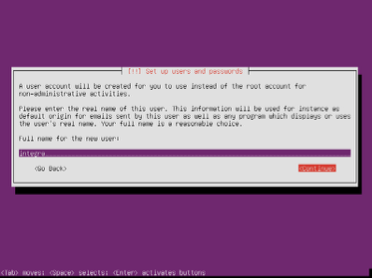
Select the user name of the system that is being created which will also be " integra " and press enter in continue .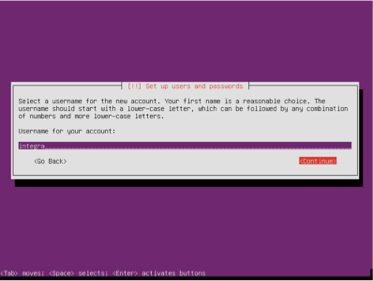
Enter a specific password for the user and press enter in continue.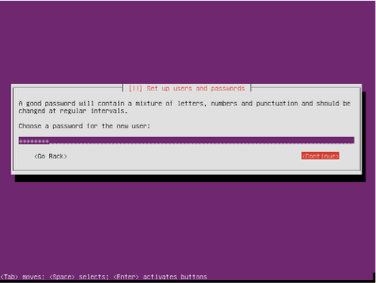
Check the password again and press enter in continue. Select No and press enter in continue.
Select No and press enter in continue
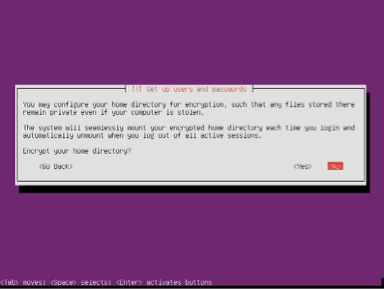
Select Time-Zone and press enter on Yes in continue.
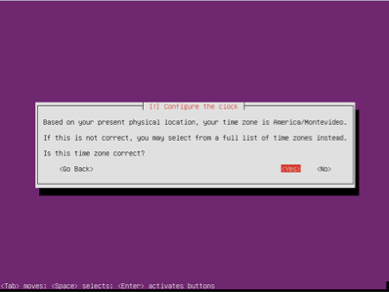
Select Guided – use entire disk and set up LVK and press enter in continue.
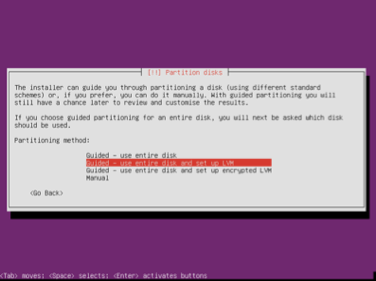
Accept partition or hard disk where the system will be installed by pressing enter on Yes.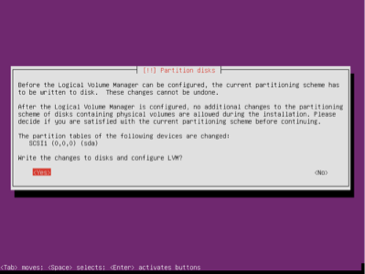
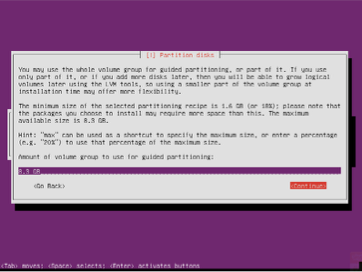
Use all available space (shown by default) to create partitions and press enter in continue.
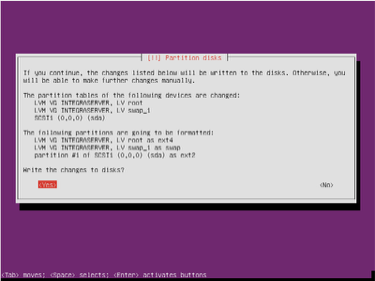
Press enter in Yes in confirm changes.
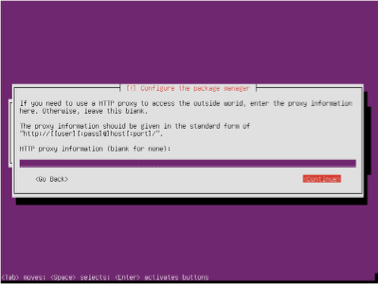
If there is a proxy configure it, if not leave blank.
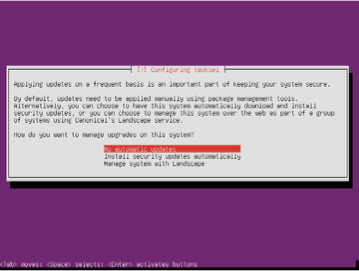
Select No automatic Updates and press enter in continue.
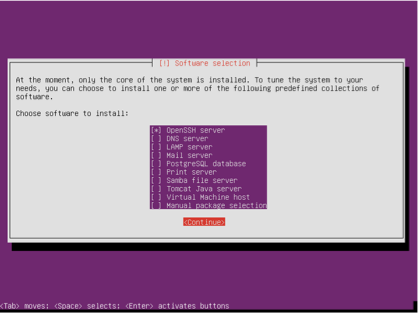
Select OpenSSH server option with the space bar and press enter in continue.
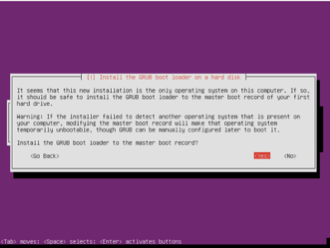
Install GRUB by pressing Yes in continue.
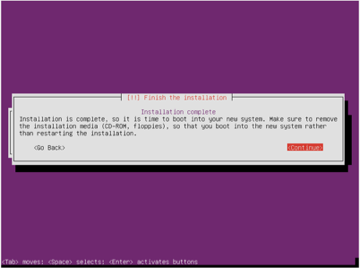
Press enter in continue to finish the installation.
At the beginning use “password” as root password, then is possible to change it from the system web interface.
To install Integra Server in any of its versions should do the following:
Login with the OS default user (in this case integra):

Run the following commands to set a root password and update the OS to the latest version :sudo passwd root sudo apt-get update sudo apt-get upgrade |
On the file: /etc/ssh/sshd_config
Modify PermitRootLogin yes. (This is made to be able to log with root and have permissions to finish the instalation).
Change the network: sudo vi /etc/network/interfaces
Change:
auto eth0 iface eth0 inet dhcp |
for
auto eth0
iface eth0 inet static
     address 192.168.X.X
     network 192.168.1.X
     netmask 255.255.255.0
     broadcast 192.168.1.255
     gateway 192.168.1.X
     ;up route add -net 192.168.1.128 netmask 255.255.255.128 gw 192.168.1.2
     ;up route add default gw 192.168.1.200
     ;down route del default gw 192.168.1.200
     ;down route del -net 192.168.1.128 netmask 255.255.255.128 gw 192.168.1.2
dns-nameservers 8.8.8.8 |
sudo apt-get install unzip curl sudo reboot |
Then after restart, download the lastes version of setup uContact.
To download the latest version and run it:
wget https://storage.googleapis.com/builds-ucontact/uContact/IntegraInstall.zip
unzip IntegraInstall.zip
chmod 777 IntegraInstall
sudo ./IntegraInstall 2>&1 | tee ~/ucontactinstalllog.txt
At this point the following information will be requested:
To see the log tail -f /root/ucontactinstallong.txt
Change Timezone
Execute the folowing command:
sudo dpkg-reconfigure tzdataSelect the desired timezone and choice OK
Usually for support issues we need remote access to the servers. We use OpenVPN AS for this porpoise.
Steps to Install and Configure
Install .deb package
dpkg -i DEB_PACKAGE |
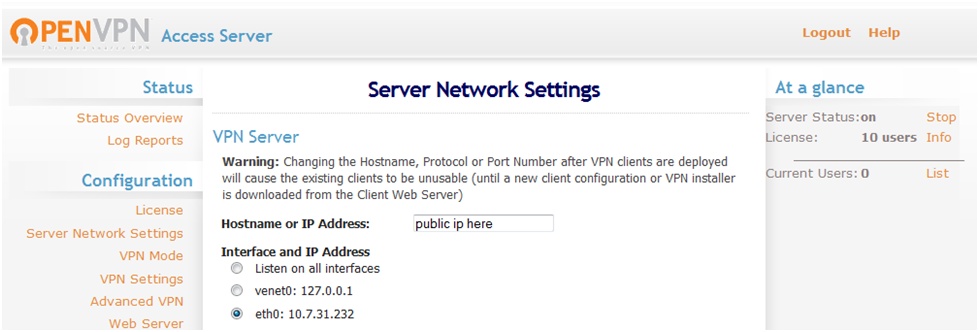
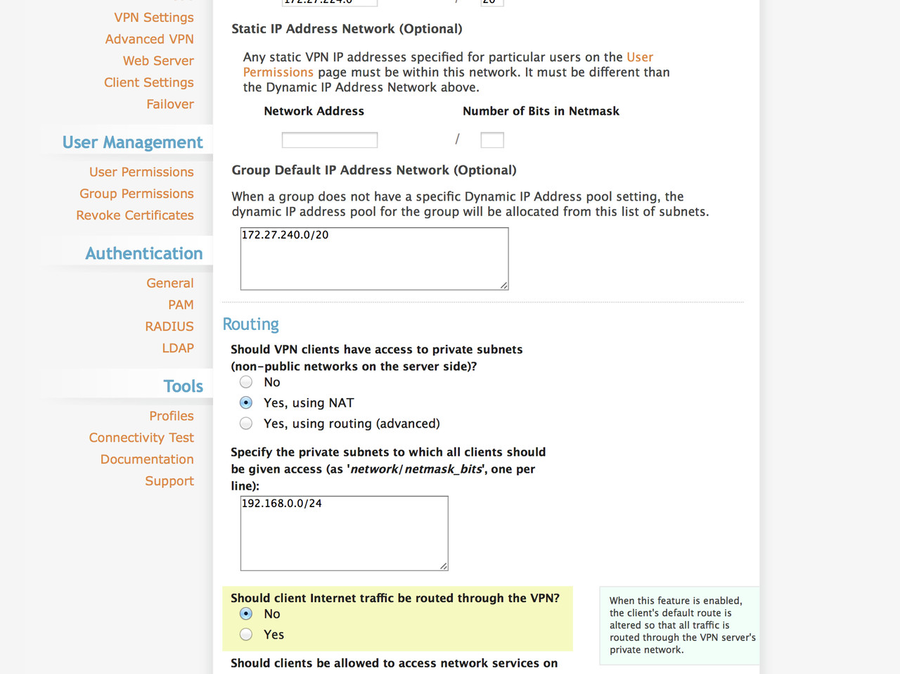
Disable the field that allows the internet traffic to be routed through the VPN.
