Agents
This option configures the administrative phones, voice mails and SIP and IAX agents with all their properties.
Its of major importance that, once the agent is created, add it to at least one campaign, so this one can have a phone available and other system features.
To configure agents and administrative phones we have the following:
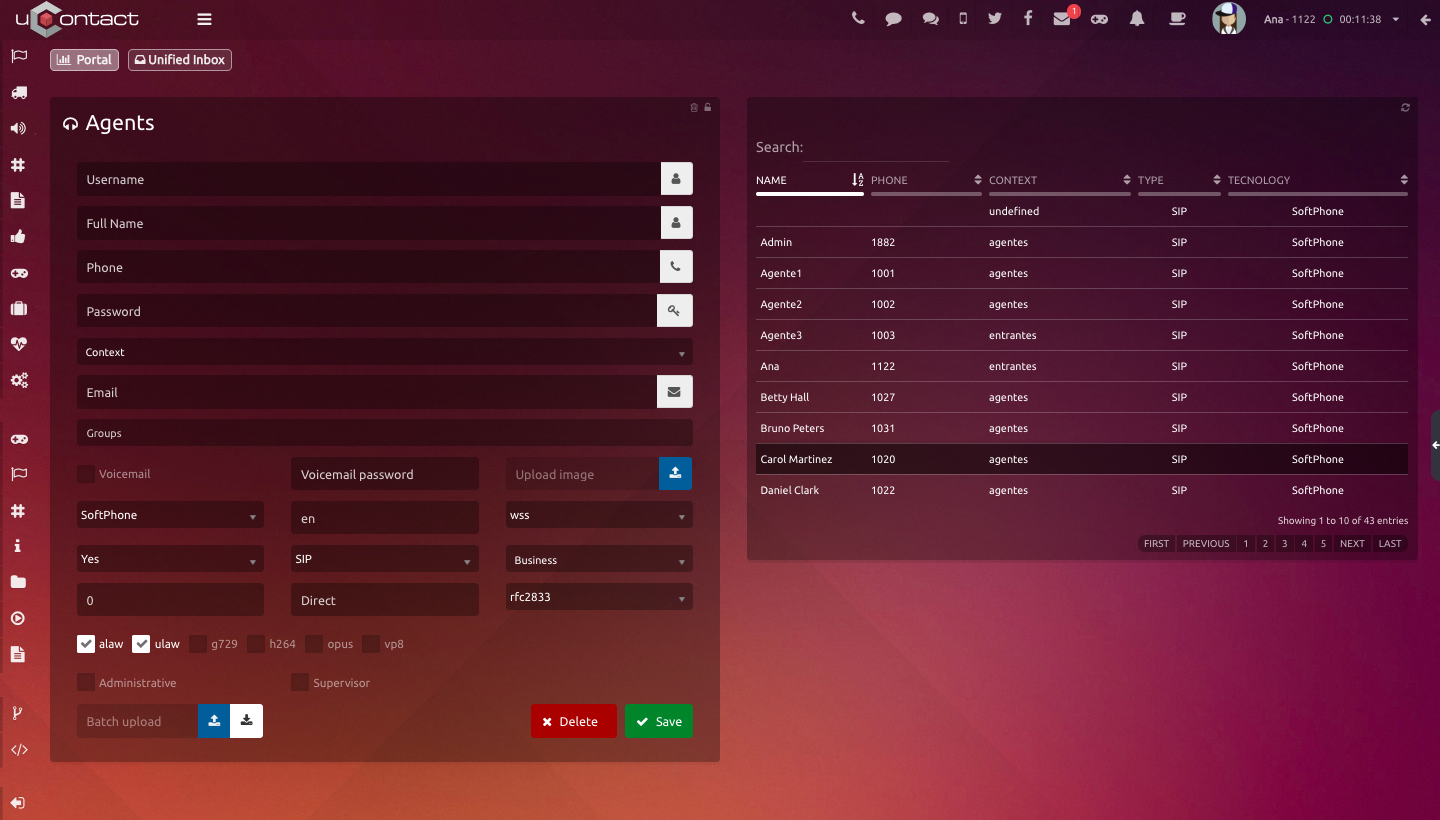
Parameters
Name: Name of the agent to be deployed in the caller ID.
Phone: Phone number (no more than 5 digits and no letters)
Password: Agent password.
Context: Associations which will direct the call attempts you make, this depends on the configuration of the dialplan. One of the properties that will define the behavior of the agent inside the call center will be the context to which it's assigned, which will contain all the logic of calls , validation and logical post call to generate the statistics.
Email: E-mail for sending the messages left on the mail box.
Group: Grouping for pickup, this functionality is used to group for example a number of phones (ex. 1) and among them will be able to take calls if they are in the same group. It can be a list.
Mail Box: Mail box, usually the phone number, it must be created in the Voicemail option, number @ context, or if you want to create automatically you should select the left option of the mail box.
Phone Type: Indicates the type of phone used the associated agent:
Hardphone: Physical IP Phone (external).
SoftPhone: Software IP Phone Integrated with uContact Agent (internal).
Language: Language for the system messages of the phone. The user has English, Spanish and Portuguese as options, but others can be written.
Transport: Indicates which transport protocol will be used:
wss: Security protocol for web services.
udp: Common udp protocol.
tls: Encrypted protocol often used with the voice encryption option.
Encrypted: Indicates if the voice communication will be encrypted or not.
Type of account: Indicates the type of account that is being created.
SIP: Account using SIP technology.
IAX: Account using IAX technology.
Limit: It allows to assign a credit limit for the agent (usually used for vPBX).
Direct: Allows to define if the agent will have a direct line based on the incoming DID (usually used for vPBX).
Business: For vPBX.
Codecs:
alaw, ulaw, g729 and opus:These are audio codecs that is encoded like voice, it makes occupy more o less bandwith. Except g729 all can be used to WebRTC. g729 is unique to softphones or is providers.
h264: Video codecs that is used for physical phone, h264 and opus can not be at the same time.
vp8: A video codec, is as come coded the video. If vp8 is selected, h264 can not be selected and viceversa.
Notes:
The ideal configuration for an agent that will using video would be : wss, encrypted yes, opus and vp8.
For the use of physical telephone the ideal is h264.
DTMF: Signalling type of telephone rings.
Administrative Phone: Administrative phones do not consume agent license and can not belong to campaigns. Also the state of the same can not be seen at the contact section.
Supervisor: If checked, the user created will generate a Supervisor type user as well, so this one can now login as an Agent or Supervisor.
Permissions: When you select an agent from the list, on the lower right corner of the panel, you can see the licenses available per agent.
Batch upload: Allows to do a batch upload of agents by uploading a file. An example of the .csv structure can be downloaded 
File format: .csv
The file contains 5 fields, the first is the name of the agent(must not have more than 19 characters), second is the number of the phone, third password, fourth the context and last the complete name of the agent (not obligatory)
Example.csv
| Code Block | ||
|---|---|---|
| ||
username;telephone;password;context;completeName Agent1;1001;1234;agentes;AMartinez |
 When an existing agent is selected, the following button will appear at the bottom of the configuration section. It will unfold the next window, indicating all the campaigns that the agent is member of.
Whenever an agent or a campaign is deleted, they will remain in the system historial without changing any data generated so far.
When creating a new agent using the same telephone number of an old one (usually when leaving the organization), this agent must be deleted, create a new one with the corresponding data and reassign him to the according campaign.
Whenever an agent is deleted it is removed from the campaigns to which it belongs .
Security in uContact
uContact has a security module that allows to manage the system, assigning a profile to each user based on their role and needs.
To be able to do this, whenever a user is generated you owe it to assign a specific security group where they are grouped by permissions and roles within the call center.
In creating security groups must take some things to consider, the applications that this group will be allowed to use, the campaigns it will be allowed to see and the report groups will have acess to.
Everything that concerns security for campaigns and dialers, it is inherited through all the system, taking as example the recordings module, reports, supervision, etc. That will only show information of campaigns that will have visibility. This allows users assigned to the groups only have access to information related to their work and not to other campaigns which he is not assigned to.
Whenever a user is created in the system, it should be assigned to an existing group and in the case that there is no group that meet the needs, this group must be created before the user.
Always new campaigns or dialers are created into the system, should be reflected in the security groups for users to see, as they can not see them as default.
Each time you want to completely restrict the access to a user you can delete his information or disable him in the group of security module to which it belongs (users and security groups).
Supervisors / Administrators
Menu to manage and create supervisors and administrators.
In this module the system users will be configured, where you can change several options depending on the group each user is assigned.

Parameters
Username: You specify the name of the user to add.
Password: It specifies the password that the user has.
Confirm Password: It specifies the password again to verify it has been properly entered.
Enabled: It specifies whether the user is enabled or not, in case is not selected, the user can not access the system.
Group: Indicates the group to which the user belongs. That group will have certain permissions in both access to information as well as security options.
Last Change of password: It is established the date on which the last change of system password was made.
Permissions:
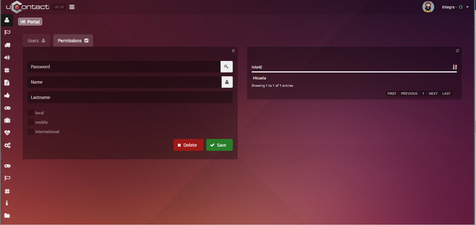
Parameters
Password: It specifies the password that the user has.
Name: You specify the name of the user to add.
LastName: You specify the last name of the user to add.
Permissions:
Local calls.
Mobile calls.
International calls.
Usually used for PBX.
 Security Groups
Menu for managing the security groups.
This module allows you to define security groups that the system has, within the main functionality is to assign different access modules specified herein assigning separate campaigns and BI groups (Reports), to the ones that have access.


Parameters
Group: Group name.
Description: Description of the group created.
Views: Assigns whether the group has access to system modules, if not enabled will not be seen by users who belong to that group.
They can choose from any to all views. These views are separated into boxes depending on the possible roles that can be assigned.
Campaigns: You can assign from none to all campaigns available in the system, the user assigned to this group will have access to all information of those campaigns. Each campaign is diferentiated by its logo.
Social Network campaigns will have the prefix SN- added to their name.
Groups Reports: From none to all groups can be assigned of the reports available in the system , the user assigned to this group will have access to all information of the groups assigned.
In the case of campaigns and groups reports , this information will be available to generate reports, on the other hand if the views of states and campaigns is enabled, you can view the campaign data which are assigned to the group to which the user belongs .
Agents: List of agents administered by the security group. Note: If no agent selected, the security group will administer all agents.
Allow downloading calls: For those security groups where the Recording section is permitted, if this is selected, the user can download the calls recordings. On the contrary, the Recordings section wont have thee downloading option.
Allow Dialers Management: When not activated, users from this group will nos be able to manage dialer lists, stop and play them.
Allow Quality Management: If activated, this users can qualify, comment and download quality evaluations on the Recordings section.
 Business
Menu for managing companies (usually used to vPBX or internal pricing).
Company Management or sections parameters of the company (usually used to vPBX or internal pricing).
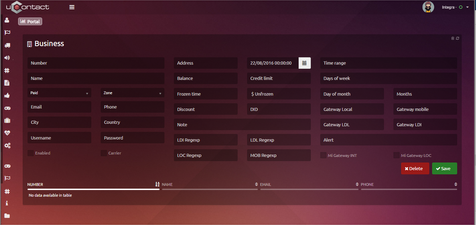
Parameters
Number: Number of the initial phone company (the first 3 digits for example of the extension).
Name: Name of the company
Payment: Type of payment used by the company:
Postpaid: Payment type monthly statement.
Prepaid: Payment type initial credit limit.
TimeZone: Select the time zone of the company.
Enabled: Indicates whether the company's account is enabled or not.
Carrier: Indicates whether the account is a carrier or not.
Email: Email address of contact in the company.
Phone: Phone number of the company.
City: City where your business is located.
Country: Country where the company is located.
User: User to enter the vPBX management portal (not used yet).
Password: Password to enter the administrative Portal vPBX (not used yet).
Address: Address of the company.
Expiration: Expiration date of the account.
Balance: Company's current balance (amount owed).
Credit Limit: Credit limit assigned to the account to limit the call time.
Frozen Time: Variable used to define a time reserved for no overlap in the balance of the company.
Unfrozen Balance: Variable used to define the amount reserved for no overlap in the balance of the company.
Discount: Discount applied to the company.
DID: Company number used for both outgoing and incoming calls.
Note: Note meaningful data as a description of the company.
LDI regexp: Regular expression that indicates when the call is international.
LDL regexp: Regular expression that indicates when the call is local long distance.
LOC regexp: Regular expression that indicates when the local call.
MOB regexp: Regular expression that indicates when the call is to a mobile.
Time Range: Indicates the time range used in the initial flow (operating hours).
Days of Week: Indicates the days of the week used in the initial flow (operating hours).
Day of month: Indicates the days of the months of the year used in the initial flow (operating hours).
Months: Indicates the months of the year used in the initial flow (operating hours).
Gateway Local: Indicates the account he used for GW output for local calls (used in SIP dial string).
Gateway Mobile: Indicates which GW will use to output to mobile calls (used in SIP dial string).
Gateway LDL: Indicates which GW will use to output to local long distance calls (used in SIP dial string).
Gateway LDI: Indicates that output will use for long distance calls GW (used in SIP dial string).
My Gateway INT: Indicates whether the company uses its own GW for international calls.
My Gateway LOC: Indicates whether the company uses its own GW for local calls.
Alert: Credit limit alerts to warn the customer.
Voicemail
Option where voice mails are configured.
This module allows the creation of voice mails without the need to be associated to an agent.
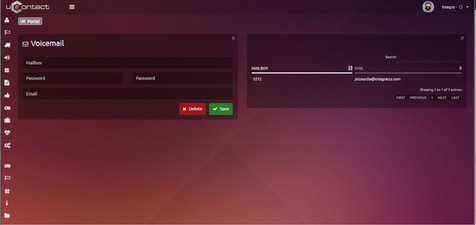
Parameters
Mailbox: The voicemail number.
Password: Voicemail password.
Password confirmation: Voicemail password confirmation.
Email: Voicemail mail.
Phone Book
The administrator can manage all the contacts added to the system.
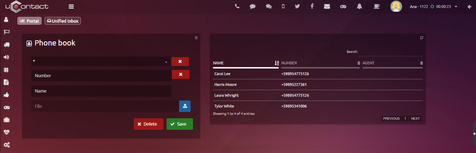
Parameters
List of Users: Unfolds a list with every agent in the system and the character " * " represents the selection of all the users in the system at once.
Number: Contact;s telephone number
Name: Contact's name
File: The administrator can upload a file with more than one contact to facilitate the creation of this ones. The .csv file must be structured like the following, where the first line must be written:
Ejemplo.csv
| Code Block | ||
|---|---|---|
| ||
name;number;agent Lisa Lewis;+59896334215;Agente1 Tom Ford;+59894763794; |
The last field representing the agent assigned to that contact, does not has to be filled. If the contact is not assigned to any agent in specific, the contact will be saved on every user's phone book of the system.
To finish the process of adding a contact, after all the fields where filled, the green button "Save" must be clicked. In order to delete a contact, this one must be selected from the list on the right and then click on the red button "Delete".
The table on the right will show the contacts depending on what the user selected on the List of Users on the left side. If an specific agent was selected, the list will unfold all the contacts that this agent has on her/his phone book. If the user selected the " * " character, the list will unfold all the contacts added in the system.